How to Draw a Durian Step by Step: With Images!
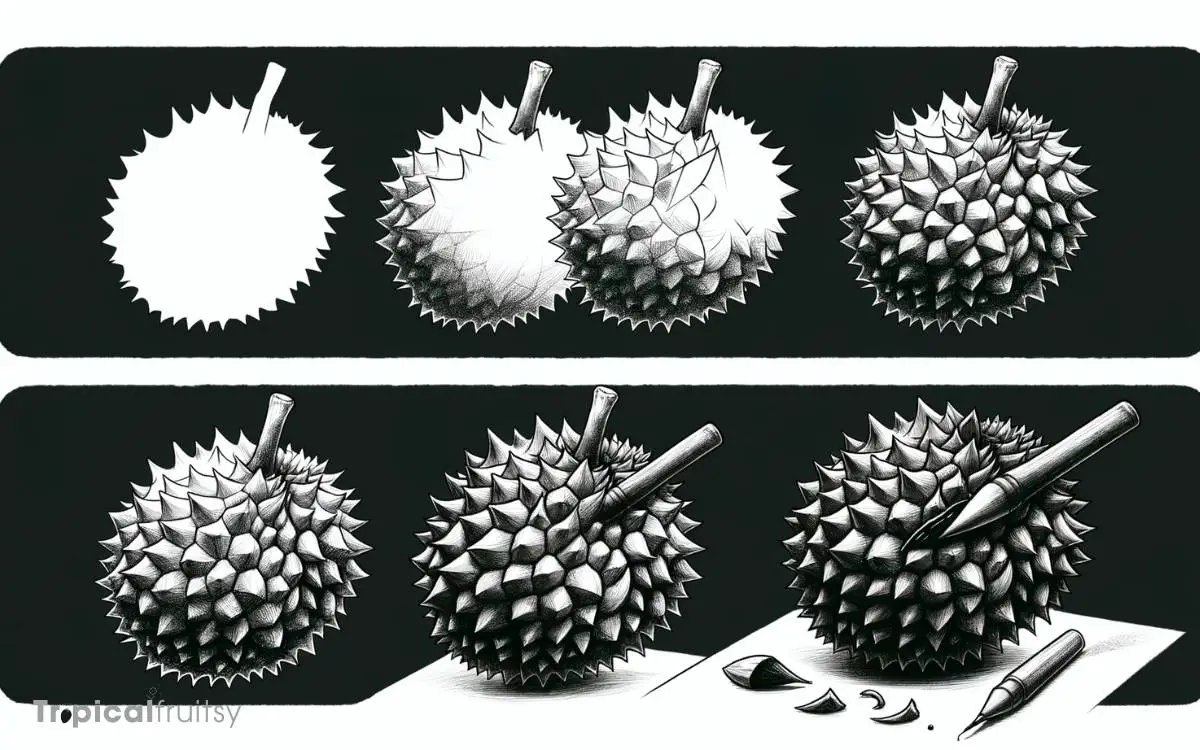
To draw a durian step by step, begin by sketching a large oval for the shape of the fruit. Add slight indents to the oval to mimic the durian’s irregular shape.
Start drawing the spikes by adding small triangle-like shapes all over the oval, varying the sizes for a natural look.
Once the spikes are in place, add details such as shadows and textures to give the drawing dimension. Finish by refining the outline and erasing any unnecessary guide lines.
Drawing a durian, known as the ‘King of Fruits’ in Southeast Asia, involves capturing its distinctive spiky exterior.
Here’s a simplified process:
For example, consider the difference in spike sizes on various parts of the fruit to make it look more realistic.
Capture the essence of Southeast Asia’s formidable fruit with our easy-to-follow guide on drawing a durian, filled with tips for authentic textures and forms.
Key Takeaway
Gather Your Drawing Materials
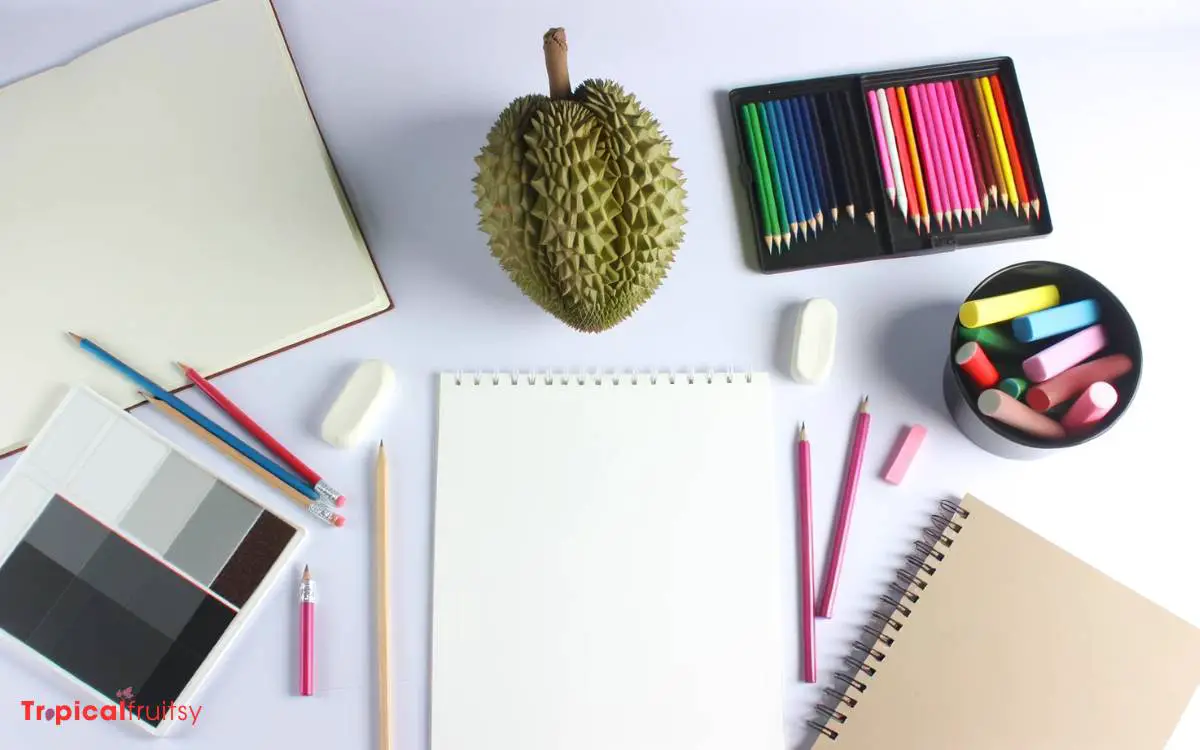
Before commencing the step-by-step process of drawing a durian, it is essential to prepare the necessary drawing materials.
The foundation of your artistic endeavor begins with quality drawing paper, preferably thick enough to withstand multiple erasures.
Select a range of pencils, from hard (2H) for delicate lines to soft (6B) for deep shadows, ensuring a spectrum of tonal values.
A high-precision eraser is indispensable for correcting mistakes and refining edges, while a blending stump can be utilized to smooth out textures, mimicking the durian’s unique spiky skin.
A sharpener is required to maintain fine pencil points. With your materials at hand, you are poised to capture the complex form and texture of the durian.
Sketch the Basic Shape
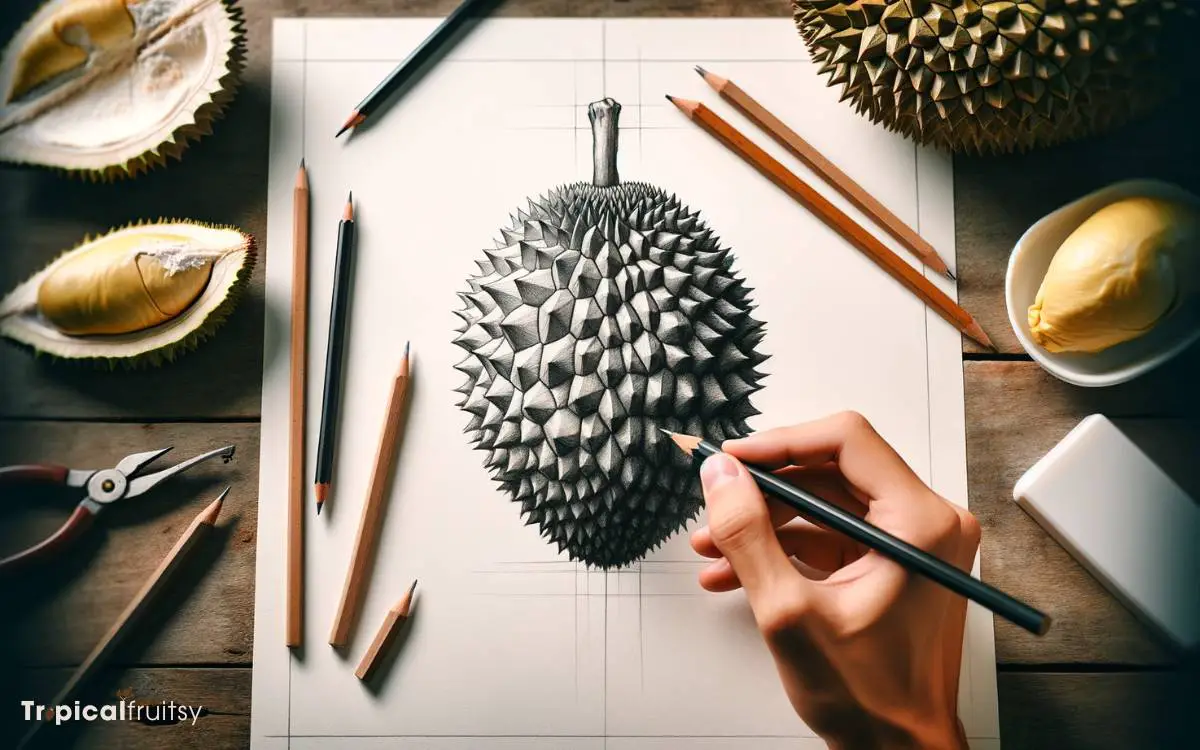
In preparation for detailing, begin by lightly sketching the durian’s oval-like form to establish its overall structure.
The durian is not a perfect oval; its shape is more akin to an elongated spheroid, occasionally bulging asymmetrically due to its natural growth patterns.
Imagine the fruit as a three-dimensional object, considering the interplay of light and shadow that will ultimately bring your durian to life on the paper.
With a soft pencil, outline the basic contours with gentle strokes to create the volume of the fruit. Avoid pressing too hard, as these initial lines are merely guides that will be refined.
This foundational shape is crucial—it sets the stage for the intricate texture and spikes that are characteristic of the durian’s formidable husk.
Add the Spiky Texture
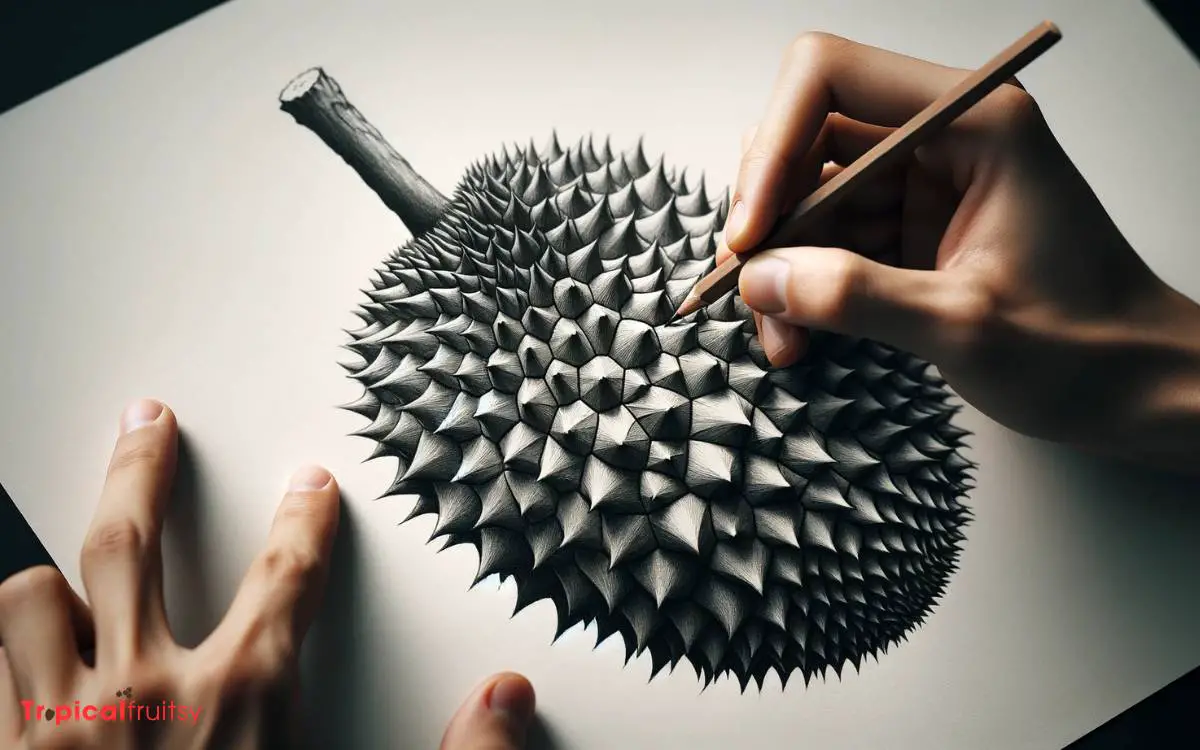
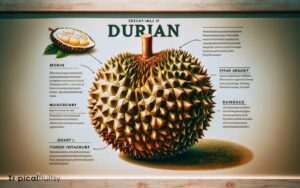
Adding the spiky texture is the next crucial step, which involves drawing small, triangular shapes across the surface of the durian to mimic its distinctive, thorn-like husk.
Each spike should be rendered with care, ensuring they vary slightly in size and direction to reflect a natural look.
The meticulous placement of these spikes will begin to bring your durian to life, providing a tactile sense that one could almost feel the prickly surface.
| Step | Description | Tip |
|---|---|---|
| 1 | Start at the top | Begin with the crown for reference |
| 2 | Space evenly | Keep spikes from clustering too much |
| 3 | Vary the size | Create a more realistic texture |
| 4 | Draw in rows | Work methodically across the form |
| 5 | Review your work | Ensure a balanced, spiky coverage |
With the spikes in place, we now transition to detailing the durian’s surface, adding depth and character to each thorn.
Detailing the Durian’s Surface
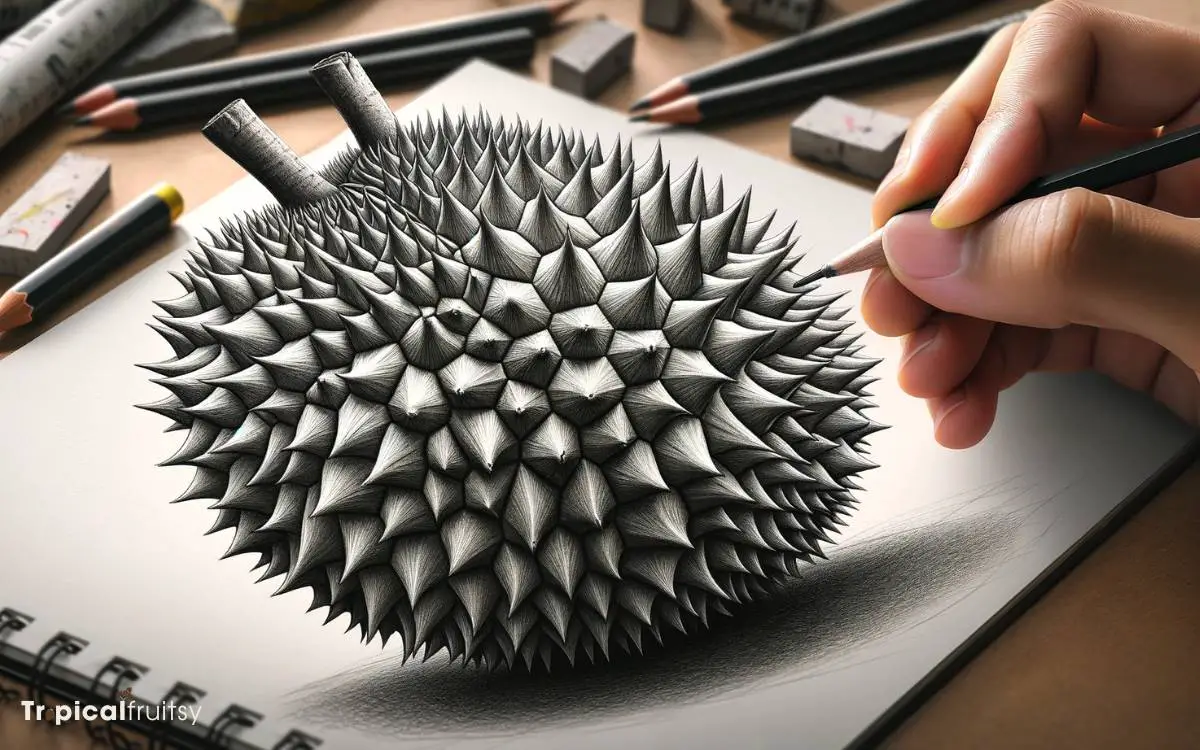
Although the durian’s spiky texture has been established, further detailing is required to enhance the realism of each thorn with shadows and highlights.
To achieve this, observe how light interacts with the durian’s surface. Where light naturally hits the tips of the spikes, add small but concentrated highlights using a fine-tipped drawing instrument.
For the shadows, study the areas between the thorns where less light penetrates. Apply gentle shading to these recesses to create depth, using a gradation of pressure to mimic the subtle transition from light to dark.
This intricate play of light and shadow will give your durian a three-dimensional appearance, making it more lifelike. With the surface details addressed, we can now proceed to the crucial steps of shading and final touches.
Shading and Final Touches
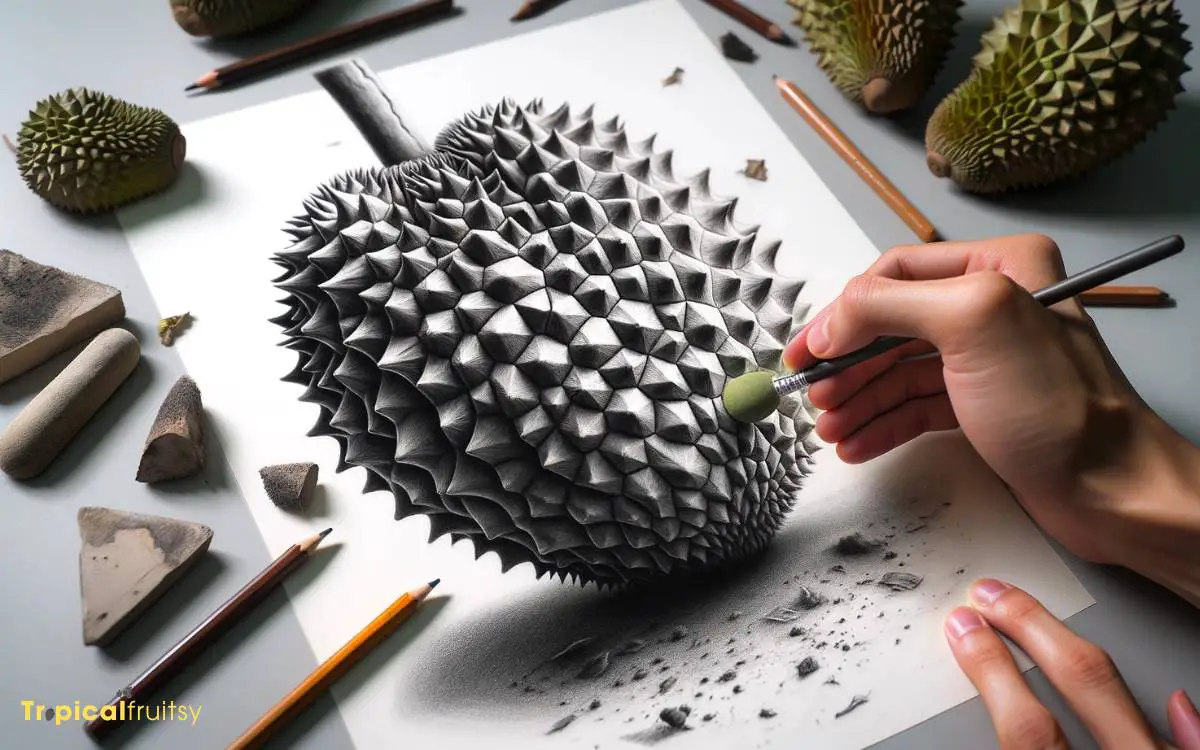
The durian’s texture gains depth and realism through meticulous shading that accentuates its spiky exterior.
As you refine your drawing, consider how light interacts with the fruit, creating shadows and highlights that give your durian a three-dimensional appearance.
This stage is critical for bringing your sketch to life, transforming it from a flat representation to a tactile object that seems as though it could be plucked from the page.
- Identify Light Source: Establish where the light originates to consistently cast shadows.
- Enhance Spikes: Deepen the shadows at the base of each spike for a pronounced effect.
- Gradual Blending: Use a soft pencil to blend shades seamlessly.
- Highlight Edges: Gently erase along the spikes’ ridges to suggest reflected light.
- Contrast Check: Revisit the darkest areas after highlighting to ensure sufficient contrast.
Conclusion
In the quest to capture the unique essence of a durian, diligent drafters have diligently detailed its daunting form.
This tutorial has traversed the thorny path from simple shapes to sophisticated spikes, ensuring each step is steeped in detail and accuracy.
With the addition of shadows, the spiky silhouette springs to life, showcasing the durian’s dimensional depth.
Final flourishes finesse the fruit’s formidable facade, furnishing art aficionados with the finesse to forge this formidable fruit on paper.


