How to Draw Custard Apple? 4 Easy Steps!
Crafting a custard apple on canvas can be a calming creative challenge. I’ll guide you through the graceful process of drawing this exotic fruit, step by step.
First, I’ll show you how to gather the right materials for this artistic endeavor. We’ll start with sketching the basic form, which is essential for a solid foundation.
Next, I’ll help you add the unique texture that makes a custard apple so distinctive. After that, we’ll focus on shading techniques to give your drawing a realistic depth.
Finally, I’ll share tips on adding those finishing touches that bring your sketch to life. Whether you’re a seasoned artist or a beginner, you’ll find that drawing a custard apple is a delightful way to hone your skills.
Key Takeaway
Gathering Your Materials
Before I begin sketching the custard apple, preparation is key, so I’ll gather all the necessary materials.
I’ll need a set of high-quality drawing pencils, ranging from hard, light grades like 2H for initial outlines, to soft, dark ones like 6B for deep shadows.
A kneaded eraser is essential for lifting graphite without damaging the paper and for creating subtle highlights.
My sketchpad should have a slightly textured surface, ideal for pencil work, allowing the graphite to adhere better and create a richer tone.
A reference image or an actual custard apple is imperative to capture the unique bulges and depressions of its form.
Lastly, I’ll ensure I have a sharpener handy, for keeping my pencils precise, which is crucial for detailing the custard apple’s intricate pattern.
Step 1: Sketching the Basic Shape
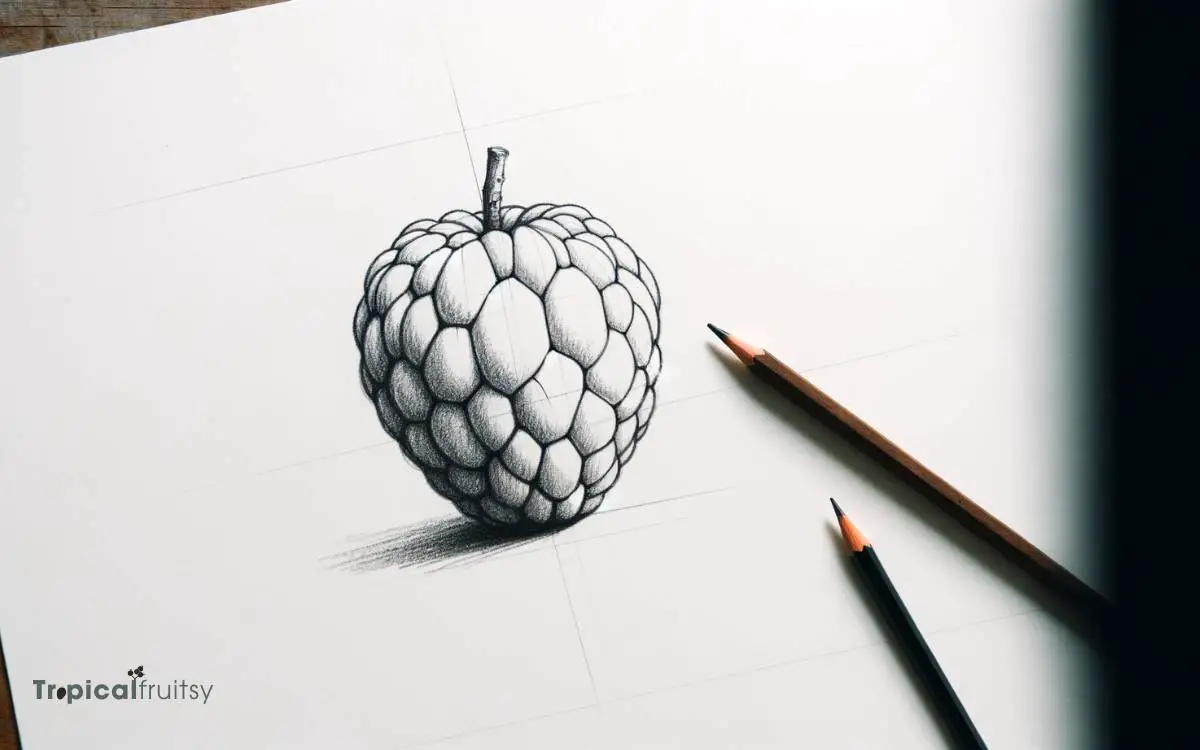
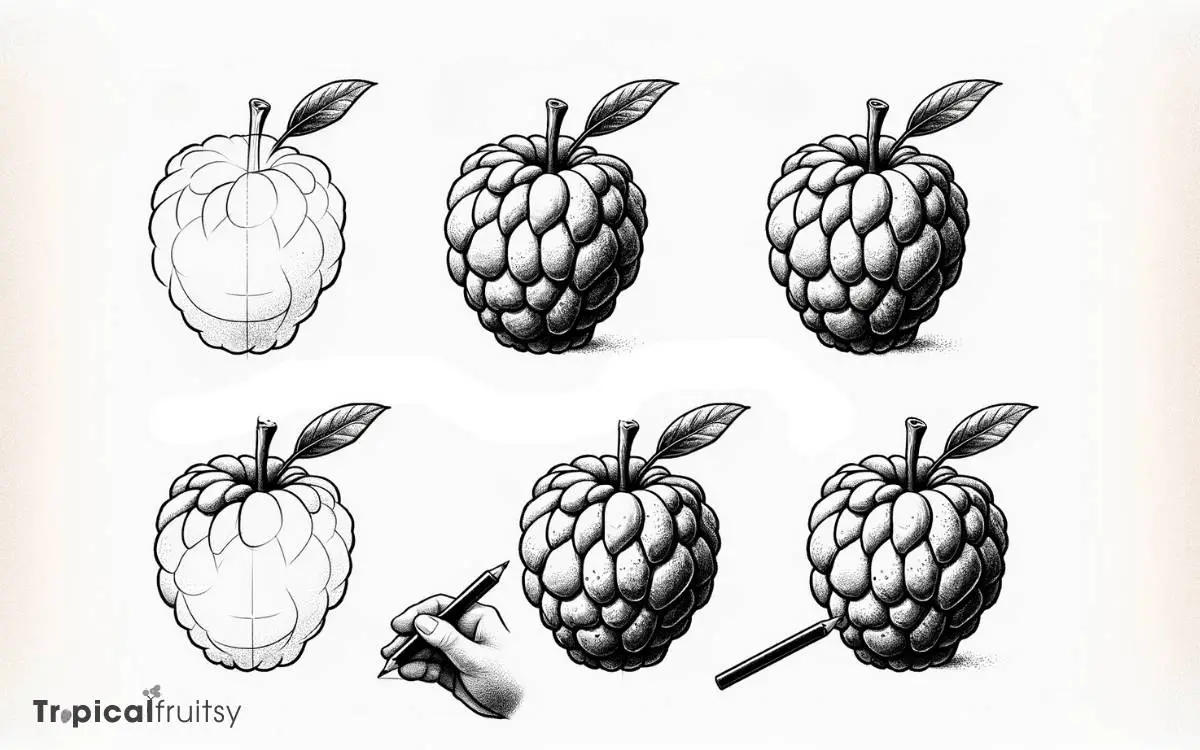
I’ll start by sketching a rough oval shape, to capture the general volume of the custard apple. This initial form doesn’t have to be perfect; it’s merely a guide for the intricacies to come.
As I refine the shape, I consider the following characteristics:
- The surface of the fruit isn’t smooth; it’s composed of many bumps.
- Custard apples are often heart-shaped, so I gently indent the top.
- The base is slightly narrower than the middle, giving it a unique profile.
- Each bump on the surface is soft and rounded, not sharp.
While sketching, I use light strokes to make adjustments easier later on. The goal is to produce a dimensional and proportionate base, setting a solid foundation for the detailed work ahead.
Step 2: Adding Texture and Detail
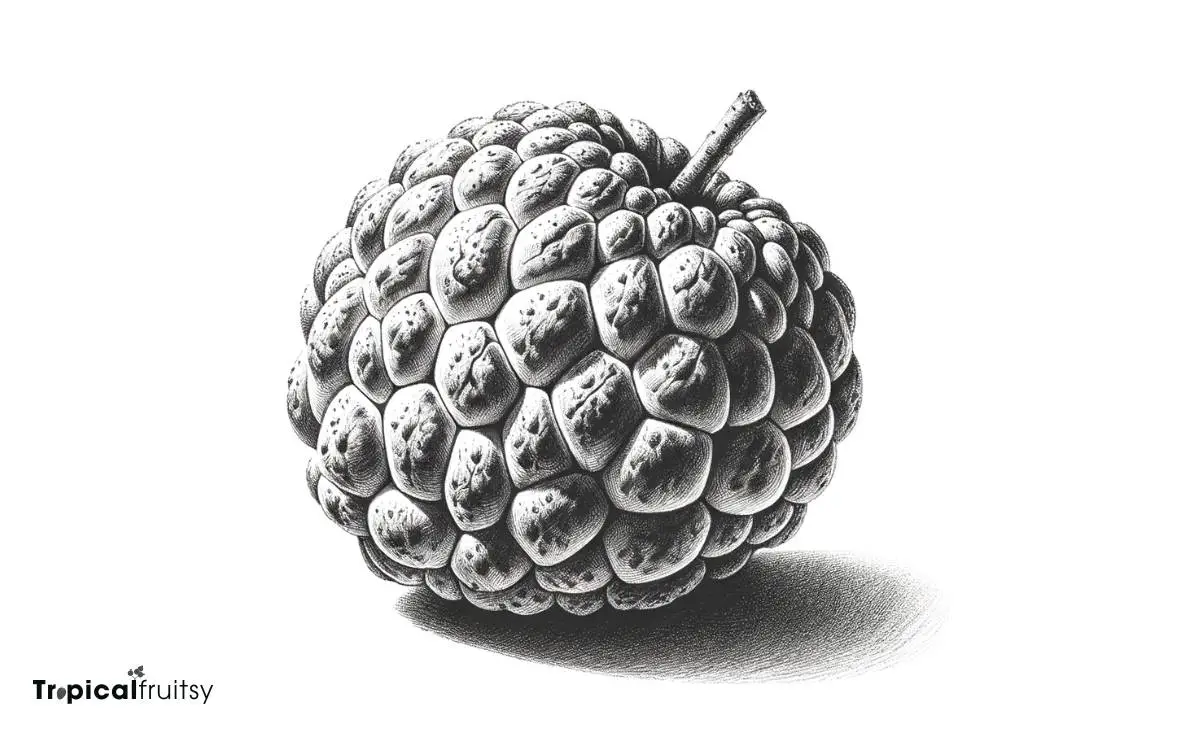
Now that we’ve the custard apple’s basic shape, I’ll add texture and detail to bring the fruit to life on the page.
Custard apples have a unique surface, so I’ll create a stippling effect with my pencil to mimic the bumpy texture.
By dotting lightly and varying the pressure, I’ll suggest the fruit’s rough, yet delicate skin. I’ll focus on the areas where shadows and highlights naturally occur, enhancing the three-dimensional feel.
The stem, often overlooked, needs a woody texture, contrasting with the fruit’s flesh. I’ll sketch in fine lines and deepen them where the shadow falls beneath the stem.
Lastly, I’ll refine the edges, adding slight indentations to reflect the fruit’s characteristic lobes, ensuring each crease and curve contributes to the realistic portrayal of a custard apple.
Can You Use the Common Name of Custard Apple in Your Drawing Tutorial?
In your drawing tutorial, feel free to use the common name “custard apple” to refer to the fruit. However, to add more variety, consider including a complete list of custard apples such as cherimoya, sugar apple, and atis. This will make your tutorial more informative and fun.
Step 3: Shading for Realism
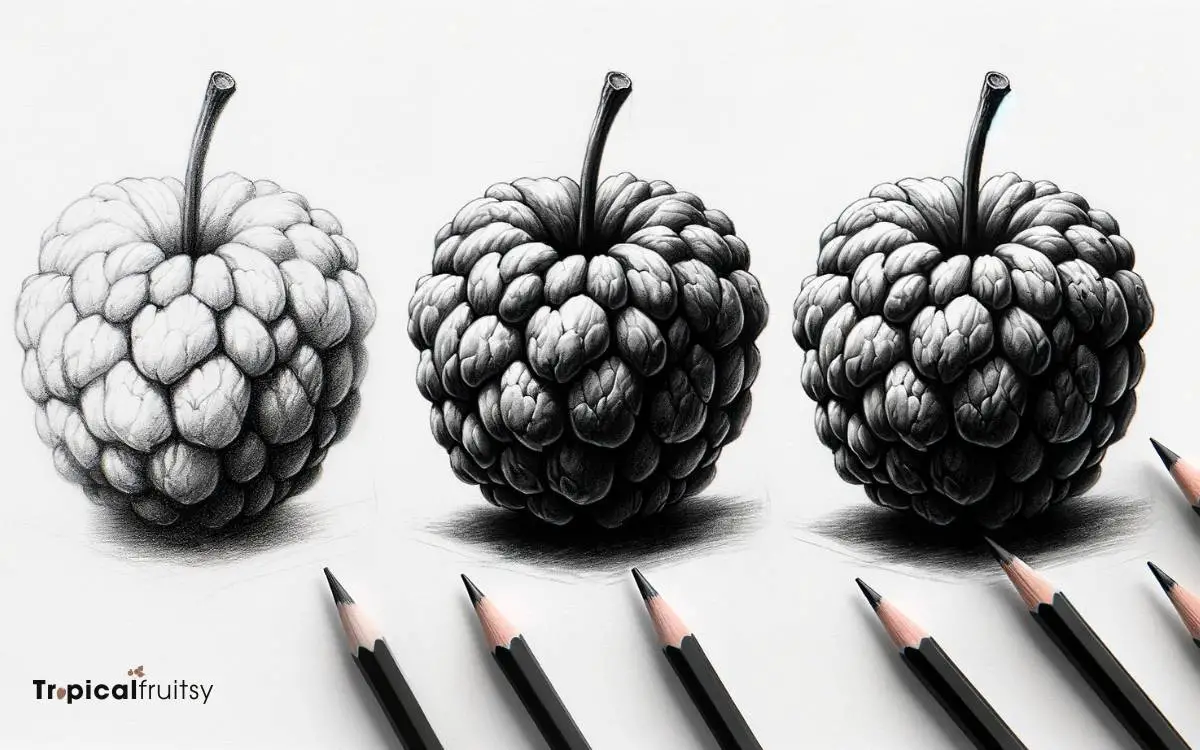
With the custard apple’s texture in place, it’s time to focus on shading to add depth and realism to the drawing. Shading isn’t just about darkening areas; it’s about understanding the way light interacts with the surface.
Here’s how I approach it:
- Observe the Light Source: Determine where the light is coming from to establish the highlights and shadows.
- Gradient Shading: Use a soft pencil to create a gradual transition from light to dark.
- Contour Shading: Follow the form of the custard apple to make the shading appear more natural.
- Contrast: Pay attention to the contrast between the shaded areas and the highlights for a more three-dimensional effect.
Carefully blending these elements together, I ensure the fruit appears tangible.
Step 4: Final Touches and Highlights
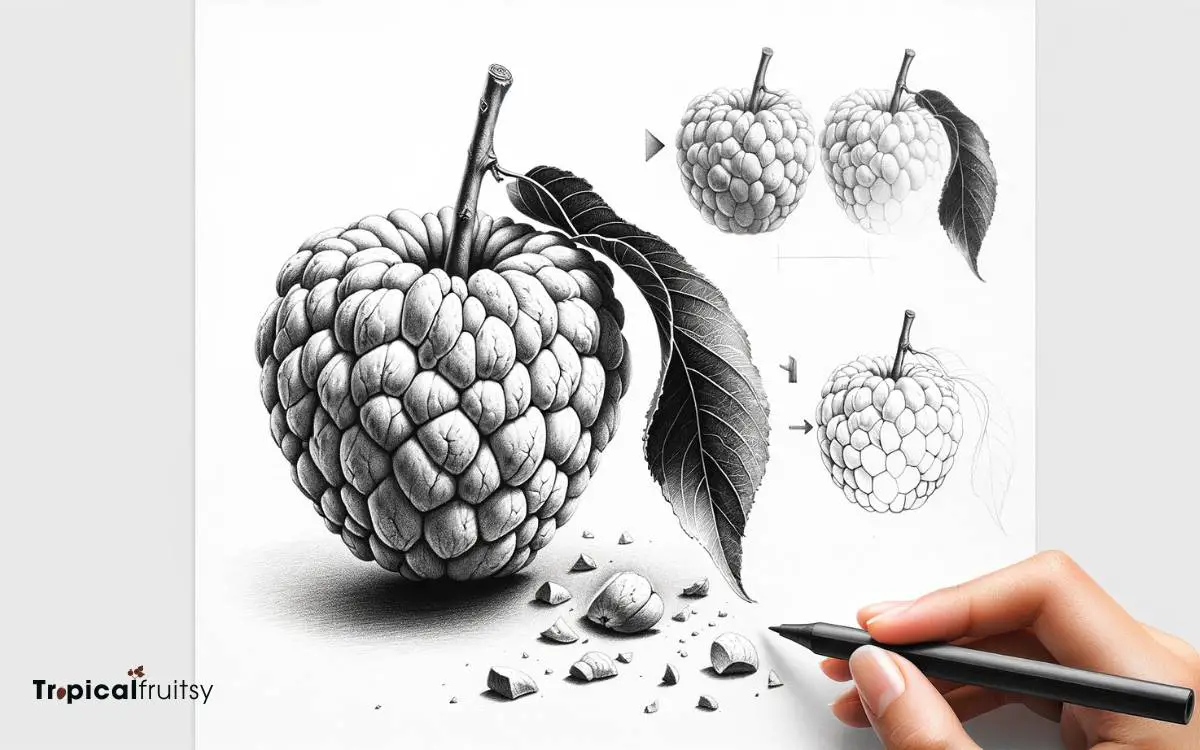
Adding final touches and highlights, I bring my custard apple drawing to its full vibrancy and detail. I focus on enhancing the texture of its bumpy skin and the contrast where light naturally hits the fruit.
Using a fine eraser, I gently dab at the paper to lift graphite and create soft highlights that mimic the subtle sheen on the fruit’s surface.
Here’s a handy table that breaks down the steps:
| Step | Tool | Effect |
|---|---|---|
| 1 | Fine Eraser | Soft Highlights |
| 2 | White Gel Pen | Sharp Reflections |
| 3 | Blending Stump | Smooth Gradients |
I then add tiny, sharp reflections with a white gel pen to suggest moisture and freshness.
Lastly, a blending stump helps me smooth out the gradients, ensuring the highlights transition seamlessly into the shaded areas. This attention to detail makes the drawing pop with life-like quality.
Conclusion
Well, I’ve finally finished my custard apple masterpiece, and it’s looking pretty sweet—if I do say so myself.
I’ve got to admit, the shading part felt like I was sculpting light with my pencil, which was pretty rad. Adding those final highlights was like the cherry on top of a sundae, bringing the whole piece to life.
So grab your quill—or, you know, your modern drawing tool—and give it a whirl.
Happy drawing, art warriors!


