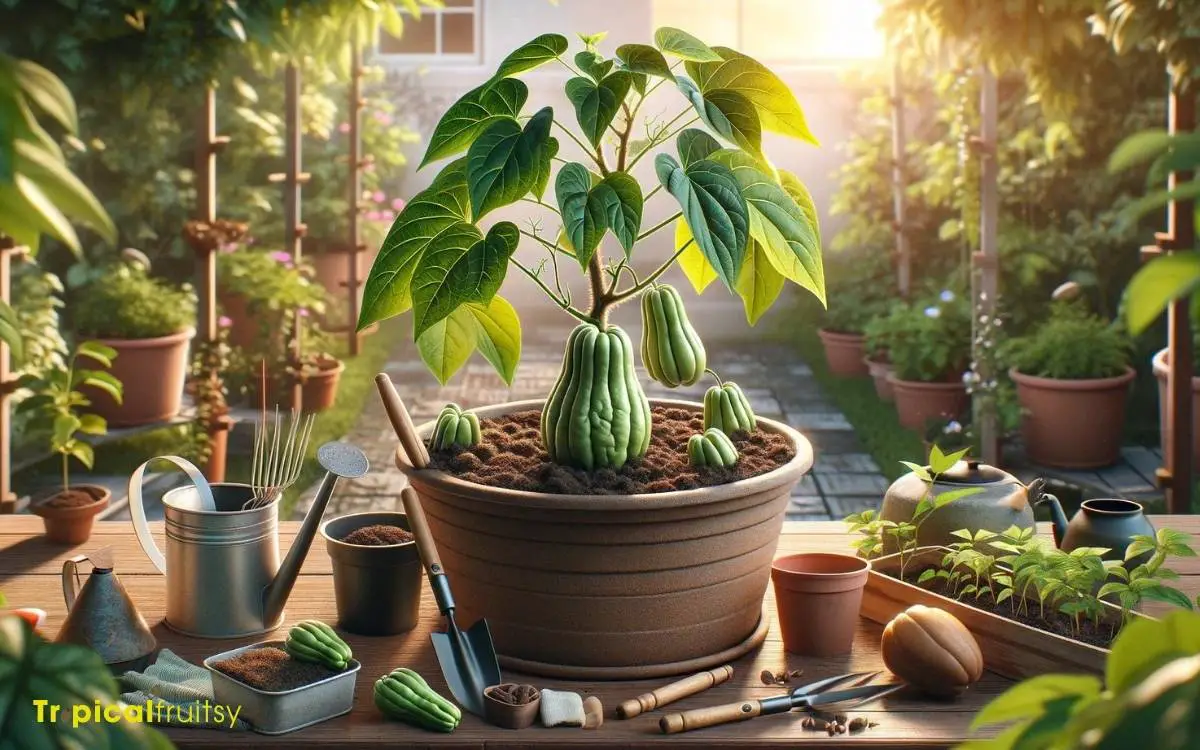
How to Grow Chayote in Container? 5 Easy Steps!
Growing chayote in a container is a practical way to enjoy this versatile vegetable in limited spaces. Select a large pot at least 10-12 inches deep, fill it with well-draining soil mix, and ensure it has adequate drainage holes.
Plant one chayote fruit per container, partially burying it on its side. Position the pot in a spot that receives full to partial sunlight, and maintain consistent moisture without overwatering.
Provide a trellis or stake for support as the vine grows. With proper care, the chayote vine will thrive and produce fruit in a few months.
Chayote, a tropical perennial vine which is part of the gourd family, can be successfully cultivated in containers given the right conditions:
For example, if you’re living in an apartment with a sunny balcony, you can grow chayote in a container placed against a wall where a trellis is attached for the vine to climb up.
Embrace urban gardening by growing chayote in a container, a space-efficient way to harvest fresh, organic produce right from your balcony or patio.

Key Takeaway
Step 1: Selecting the Right Container
While choosing a container for our chayote plants, we must ensure it’s large enough to accommodate the plant’s extensive root system. A pot that’s at least 20 inches in diameter and equally deep typically works well.
This size allows enough space for roots to spread out without becoming too cramped, which could hinder growth.
We should also consider the material of the pot. Plastic containers are lightweight and retain moisture well, but they can deteriorate over time.
On the other hand, clay or ceramic pots are durable and provide good airflow, but they’re heavier and dry out more quickly.
Whichever material we choose, we’ve got to make sure there are adequate drainage holes at the bottom to prevent waterlogged soil, which could spell disaster for our chayote’s roots.
Step 2: Preparing the Growing Medium
Before planting our chayote, we’ll need to prepare a nutrient-rich and well-draining growing medium to ensure the best possible start for our plant.
Here’s how we can create the perfect environment for our chayote to thrive:
- Begin with a base of high-quality potting soil, which will provide the essential nutrients and support.
- Add compost to enrich the soil with organic matter, improving moisture retention and fertility.
- Mix in perlite or sand to enhance drainage, preventing waterlogging that could harm the roots.
- Check the soil’s pH, aiming for a slightly acidic to neutral range, between 6.0 and 7.0, for optimal growth.
Step 3: Planting Your Chayote
Having prepared our container’s growing medium, we’re now ready to plant the chayote seedling. Carefully, we’ll position the seedling in the center of the container, ensuring the spot we’ve chosen gets plenty of sunlight.
The seedling should be planted deep enough so that the base of the stem is level with the soil surface. Now, let’s gently firm the soil around the seedling to eliminate air pockets and provide support.
Here’s a quick reference table for the planting process:
| Step | Action | Tip |
|---|---|---|
| 1 | Dig a hole | Make it twice the size |
| 2 | Position the seedling | Center of the container |
| 3 | Cover roots with soil | Don’t bury the stem |
| 4 | Firm the soil | Support the seedling |
| 5 | Water gently | Avoid soil erosion |
Once planted, we’ll water the chayote gently to settle the soil. It’s crucial to maintain consistent moisture levels without overwatering.
Step 4: Routine Care and Maintenance
After planting the chayote, we’ll need to focus on providing consistent care and maintenance to ensure the plant thrives in its container environment.
To help you bond with your chayote and nurture its growth, consider these steps:
- Water regularly: Keep the soil consistently moist, but not waterlogged, to prevent stress.
- Fertilize monthly: A balanced, water-soluble fertilizer will encourage robust growth.
- Prune as needed: Trim back any overgrowth to promote air circulation and prevent disease.
- Monitor for pests: Watch out for signs of insects or fungal infections and act quickly.
By following these guidelines with attention and love, we’ll not only grow chayotes but also cultivate a rewarding gardening experience.
Step 5: Harvesting Your Chayote
While we’ve been diligently caring for our chayote, the time has finally come to reap the rewards, and we’ll now explore how to harvest the fruits from our container-grown vine.
Harvesting should begin when chayotes reach a suitable size—typically about 4 to 8 inches long. We’ll look for a firm texture and even green color.
Let’s gently twist the fruit off the vine or use pruning shears for a cleaner cut, taking care not to damage the plant.
We must harvest before the first frost, as chayote is sensitive to cold. If we notice any signs of wilting or browning, it’s best to harvest immediately, even if the fruits are slightly smaller than preferred.
Enjoying the fruits of our labor is the culmination of our gardening journey, so let’s savor the moment and the fresh, homegrown chayote.
Conclusion
Well, after all our efforts, it turns out we’re master green thumbs with chayote! Who would’ve thought that a simple container could yield such a bounty?
We’ve prepped, planted, and pampered these little green gems, only to realize they’ve been quietly outgrowing their homes.
As we harvest, let’s take a moment to chuckle at the irony: we aimed to contain nature, yet it’s nature that’s had the last laugh, flourishing beyond our wildest dreams.
Here’s to our thriving chayote jungle!


