How to Make Apple Custard? 7 Easy Steps!
Apple Custard is a delightful dessert that combines the sweetness of apples with the creamy texture of custard. To make it, you’ll need ripe apples, milk, sugar, eggs, vanilla extract, and a pinch of cinnamon.
Begin by peeling and slicing the apples, then simmering them until tender. In another pan, heat milk with sugar, and then slowly incorporate beaten eggs to form a custard base.
Layer the apples in a baking dish, pour the custard over them, and bake until set. Serve chilled for a satisfying treat.
Apple Custard is a perfect combination of fruit and creamy dessert, often enjoyed as a comforting end to a meal.
It involves a few simple steps:
For example, you might choose to layer the apples in a pattern or mix them directly into the custard before baking for a different texture.
Savor the classic taste of Apple Custard, a dessert that perfectly marries the tartness of apples with the sweet creaminess of baked custard.
Key Takeaway
Gather Your Ingredients
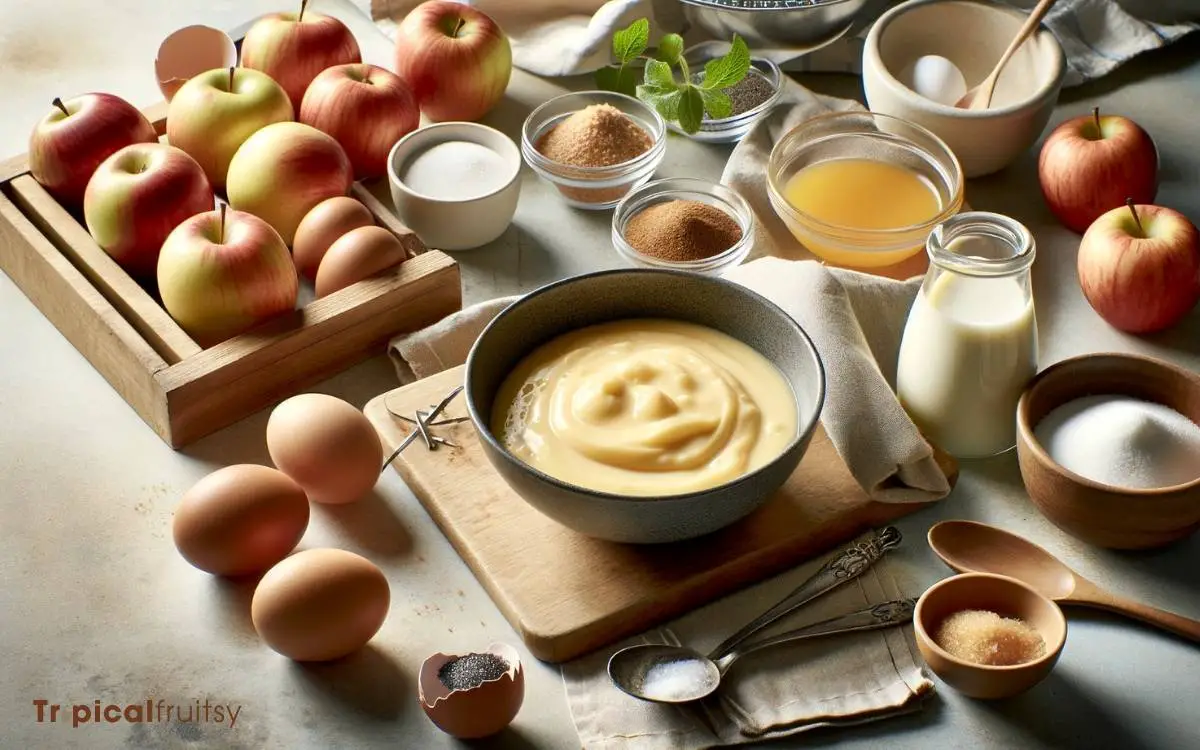
Before I begin the custard-making process, I’ll need to gather all the necessary ingredients. I’ll start by procuring the freshest eggs; their yolks a deep, golden hue that promises a rich base.
Next, I’ll reach for the granulated sugar, its crystals glinting like tiny diamonds ready to dissolve into sweet perfection. Heavy cream and whole milk, creamy twins, will lend their luscious textures to my concoction.
A dash of vanilla extract waits to infuse its warm, aromatic essence. Lastly, a pinch of salt, unassuming yet pivotal, will balance and enhance the flavors, ensuring each bite is a symphony of taste.
Step 1: Preparing the Apples
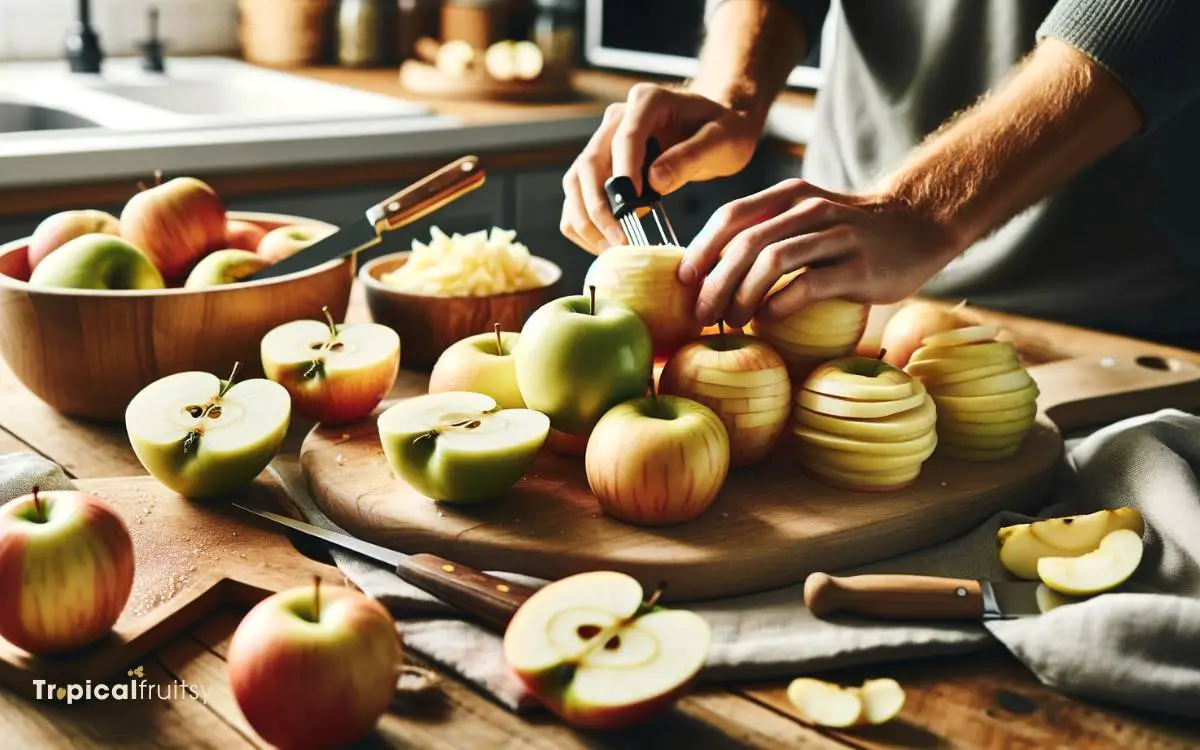
To ensure the apples meld seamlessly with the custard, I’ll peel, core, and thinly slice them before cooking.
Here’s how I do it:
- Peeling: I grasp the apple firmly and glide the peeler from top to bottom, watching the skin curl away like ribbons.
- Coring: With a corer in hand, I plunge it into the apple’s center and twist, the core surrendering with ease.
- Slicing: I lay the peeled fruit on its flat side and slice with confidence, creating slender arcs of apple.
- Tossing: A gentle toss in lemon juice ensures the slices don’t brown, preserving their fresh appearance.
Step 2: Making the Custard Base
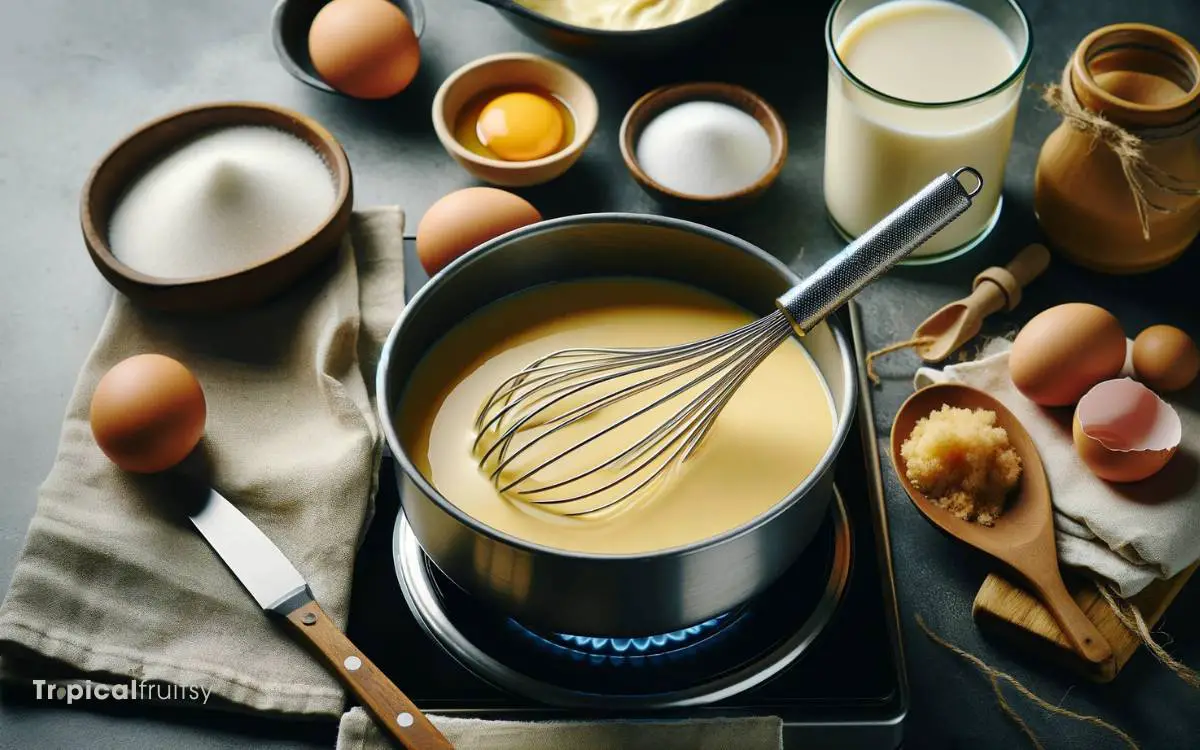
I always begin my custard base by whisking together eggs and sugar until they’re light and fluffy. The key is to incorporate air, which imparts a delicate texture to the custard.
As I whisk, the mixture transforms into a pale golden color, a visual cue that I’m on the right path.
Next, I gently heat milk in a saucepan, just until it’s warm to the touch – not boiling. This is crucial; too much heat and the eggs would scramble.
With a steady hand, I pour the warm milk into the egg mixture, whisking continuously. The goal here is to temper the eggs, bringing them to the right temperature without cooking them. It’s a dance of precision and patience.
Step 3: Blending Flavors Together
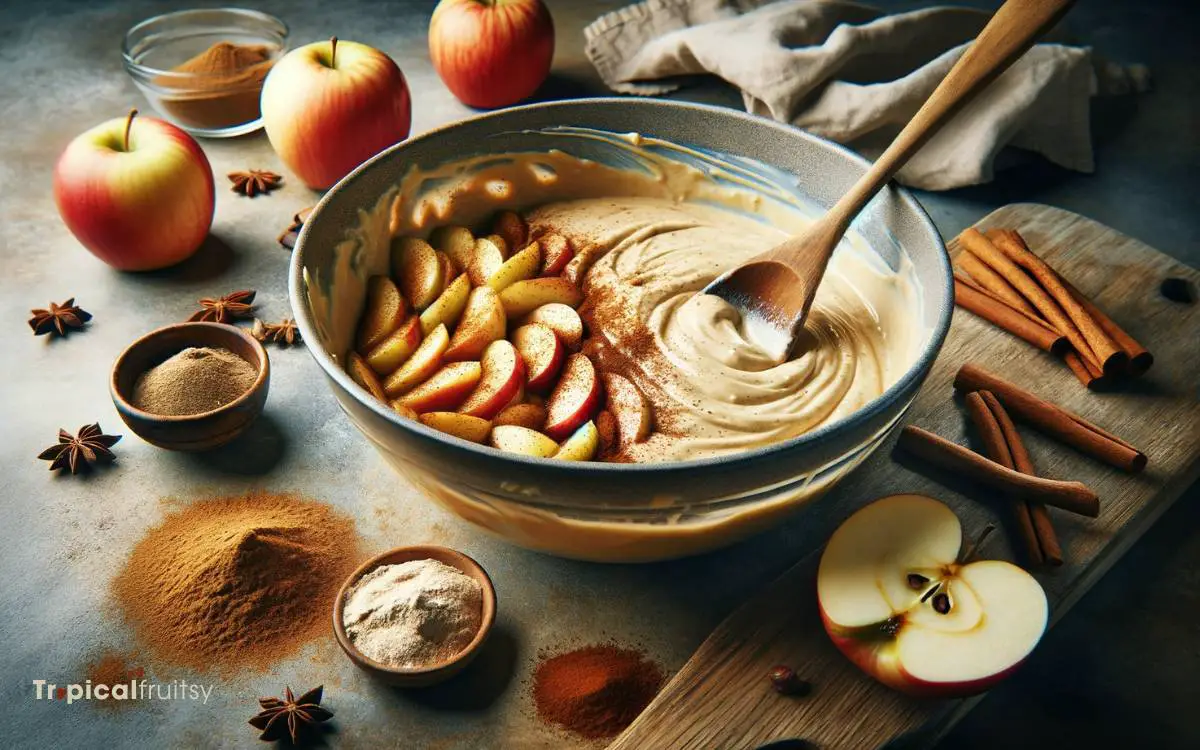
Now, I’ll guide you through the art of merging flavors to elevate our apple custard.
I’ll balance the sweetness of ripe apples with the tart zing of lemon zest, ensuring each spoonful sings with harmony.
Then, I’ll share my secrets for weaving in warm spices without overpowering the delicate custard base, achieving a symphony of taste and texture.
Balance Sweet and Tart
Achieving the perfect blend of sweet and tart in your apple custard hinges on the apple varieties you choose and how you balance their flavors.
To craft this delightful dance on the palate, consider the following steps:
- Select a mix of apple types, such as the honeyed notes of Golden Delicious with the sharp zing of Granny Smith.
- Taste as you go, adjusting the sugar to complement the natural fruit sweetness.
- Experiment with a splash of lemon juice to brighten the tartness when needed.
- Simmer the apples gently, allowing their flavors to meld harmoniously.
This alchemy of taste sets the stage beautifully.
Spice Infusion Techniques
Harmony in our apple custard deepens with the careful selection of spices, which, when infused correctly, create a symphony of flavors that truly enhance the dish.
I’ve found that gently warming spices releases their essential oils, which is crucial for a robust infusion.
Here’s a table that guides you through which spices blend well with our custard and how to incorporate them for maximum flavor:
| Spice | Infusion Technique |
|---|---|
| Cinnamon | Steep in warm milk |
| Cardamom | Crush pods; simmer |
| Nutmeg | Grate fresh into mix |
| Vanilla | Split bean; infuse |
I ensure spices are fresh for the most vivid notes. A gentle simmer, never a boil, is my mantra to prevent bitterness. The result? A custard that’s not just a treat, but an experience.
Custard Consistency Tips
I’ve discovered that the key to perfect custard consistency lies in the delicate balance of heat and time.
It’s an artful process that requires a few tried-and-true tips:
- Gently heat the milk and cream mixture to just below boiling; this prevents the eggs from scrambling.
- Whisk the eggs and sugar together until they’re pale and fluffy, ensuring they’ll blend smoothly with the milk.
- Pour the milk mixture into the eggs slowly, whisking constantly, to marry the flavors without causing lumps.
- Return the custard to low heat, stirring continuously until it thickens to a velvety texture that coats the back of a spoon.
This careful preparation sets the stage for the next crucial step: layering the components to create a harmonious final dish.
Step 4: Layering the Components
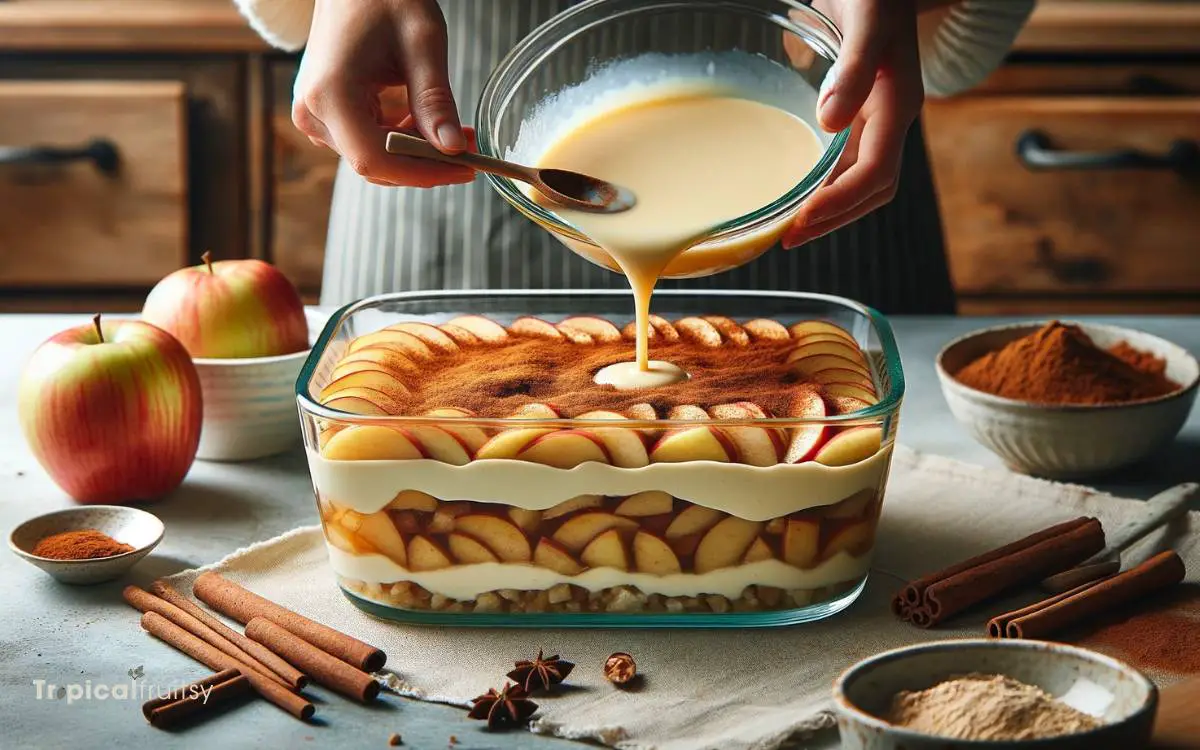
After preparing both the custard and the apples, I’ll begin by spooning a layer of the apple mixture into the bottom of a serving dish.
The aroma of cooked apples, laced with cinnamon, wafts up, setting the stage for this luscious dessert. I ensure that the base is even, creating a bed of spiced fruit that will cradle the custard.
Next, I pour the silky custard over the apples, allowing it to seep into the nooks and crannies, marrying the flavors in a delicate dance. Then, I add another layer of apple, carefully arranging the slices for a rustic yet elegant presentation.
I continue this process, alternating between custard and apples, until I reach the brim, finishing with a final drizzle of custard. Each layer promises a harmonious blend of textures and tastes in every spoonful.
Step 5: Baking the Custard
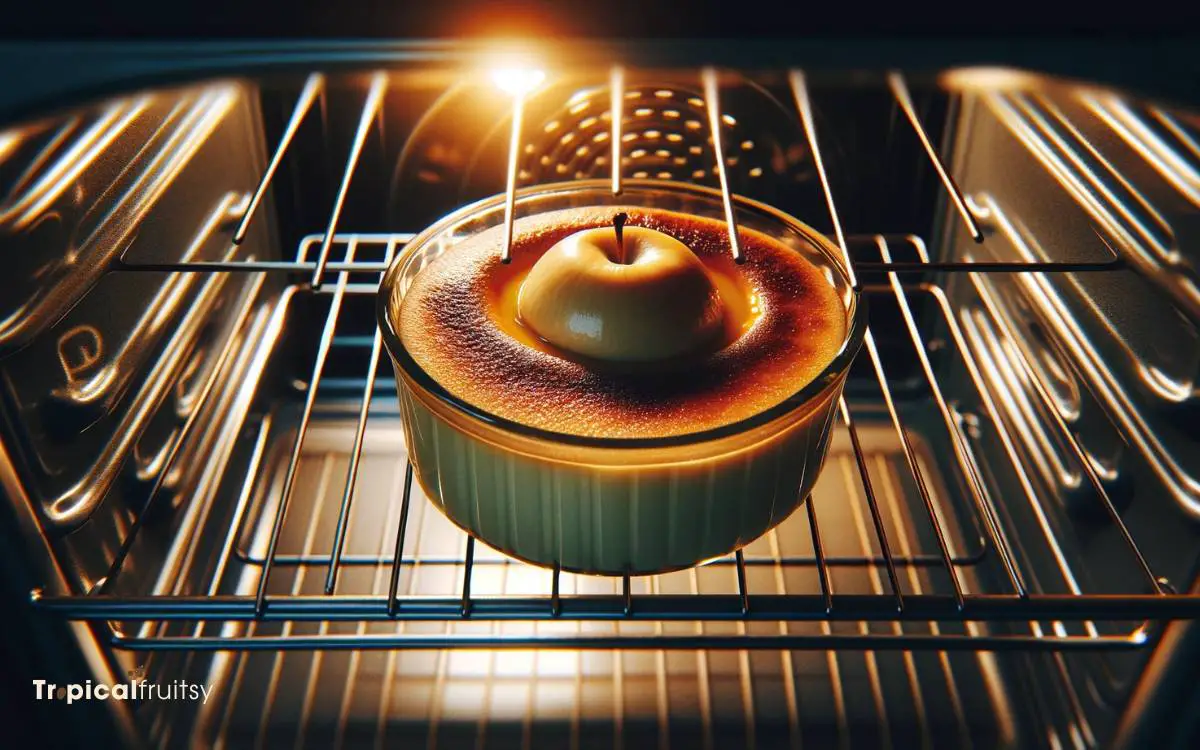
As I slide the dish into the preheated oven, I’m aware that maintaining the perfect temperature is crucial for a smooth, creamy apple custard.
I’ve nestled the pan in a water bath, a simple yet ingenious technique that promises even cooking and prevents curdling.
With an eagle eye, I’ll conduct periodic consistency checks, ensuring that the custard sets to just the right jiggle without overbaking.
Oven Temperature
I preheat my oven to 350°F (175°C) before pouring the apple custard mixture into the baking dish. This moderate temperature allows the custard to cook gently, ensuring it sets to a silky smoothness without curdling.
Here’s the process I follow:
- Preheat: I always remember to let the oven reach the desired temperature before baking to ensure even cooking.
- Positioning: I place the baking dish in the middle rack, promoting uniform heat circulation.
- Baking Time: It typically takes 45 to 60 minutes, but I start checking at the 30-minute mark to prevent overbaking.
- Finishing Touch: Once done, I look for a slight jiggle in the center—this signals a perfectly baked custard that will firm up as it cools.
Consistent oven temperature is key to custard that’s both comforting and refined.
Water Bath Technique
To ensure even cooking and prevent cracks, I place the baking dish into a larger pan filled with hot water, creating a water bath that gently cooks the apple custard.
The steamy embrace of the water bath, known as a ‘bain-marie’, envelops the custard, cooking it to silken perfection.
This method moderates the temperature, avoiding the direct assault of oven heat that could scramble the delicate egg mixture.
I’m careful to pour the water halfway up the side of the custard dish, a small moat guarding against the harsh heat.
I preheat the oven, as a warm welcome is best. Once settled in its warm water nest, the custard bakes slowly, transforming into a smooth, creamy delight, with the tender apple pieces nestling like gems within. Every spoonful is a testament to the gentle power of the water bath.
Custard Consistency Checks
While the custard bakes, I’m vigilant in checking its consistency, knowing it’s done when it has a slight jiggle in the center, but is set around the edges.
Here’s how I ensure the perfect consistency:
- Gentle Shake: I give the pan a soft shimmy. If the center wobbles like a tender gelatin, it indicates readiness.
- Visual Cue: The top should appear uniformly golden, without any liquid pools signaling underdone custard.
- Toothpick Test: I insert it near the center; if it emerges mostly clean, we’re on track.
- Timing: I start checking at the earliest baking time recommended, adding minutes cautiously to avoid overcooking.
This methodical approach leads to a lusciously smooth apple custard — a harmonious blend of firmness and creaminess.
Step 6: Cooling and Setting
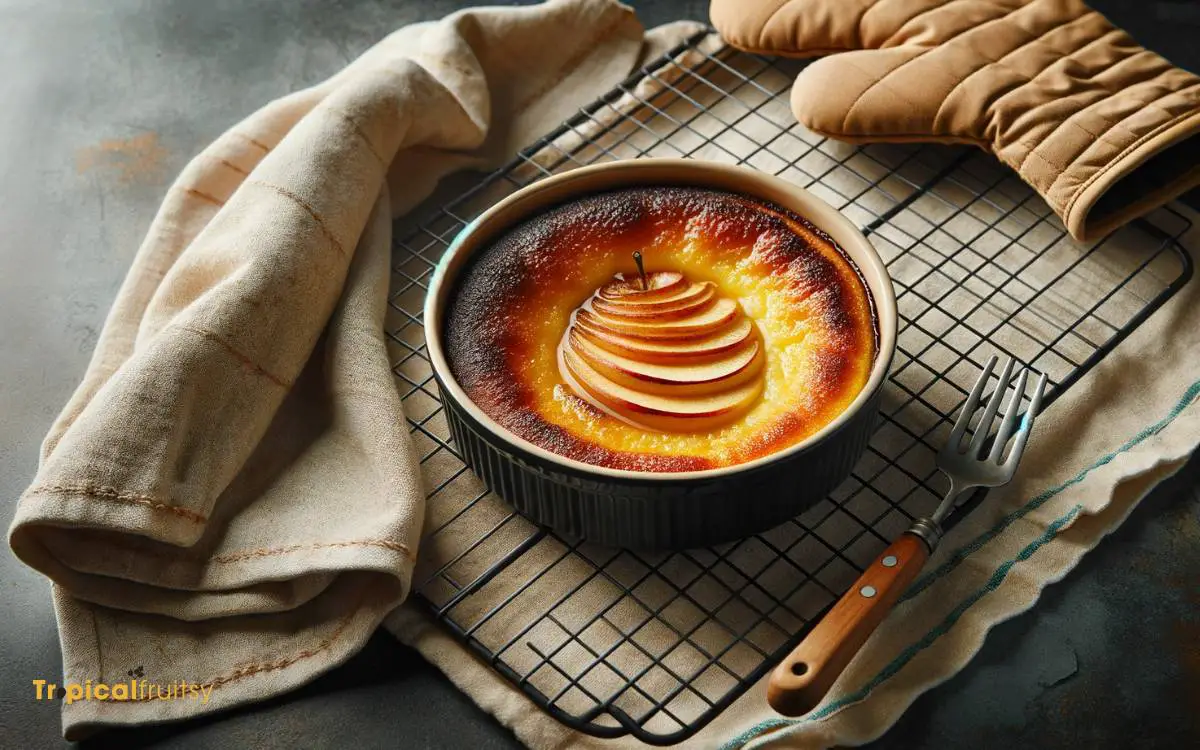
Once the apple custard is thoroughly cooked, it’s essential to let it cool gradually to ensure proper setting. The transition from the warmth of the stove to the cool embrace of the countertop begins its metamorphosis.
I can almost hear the soft whispers of the custard as it starts to firm up, the apple pieces nestling into their creamy bed.
I resist the urge to hasten the process. Rushing could lead to a weepy custard, with its texture compromised. Instead, I allow it the tender courtesy of time, my kitchen filling with the sweet, comforting scent of cooked apples and vanilla.
As it cools, the custard’s surface becomes a mirror, reflecting patience and care. It’s a waiting game where the reward is a perfectly set, velvety indulgence.
Are the Steps for Making Custard Apple Similar to Making Apple Custard?
The steps for making custard apple are not the same as making apple custard. To prepare custard apple recipe, you need to scoop out the flesh and blend it, while for apple custard, you need to cook apples and then mix them with custard. Both delicious desserts, but different preparation methods.
Step 7: Garnishing Your Dessert
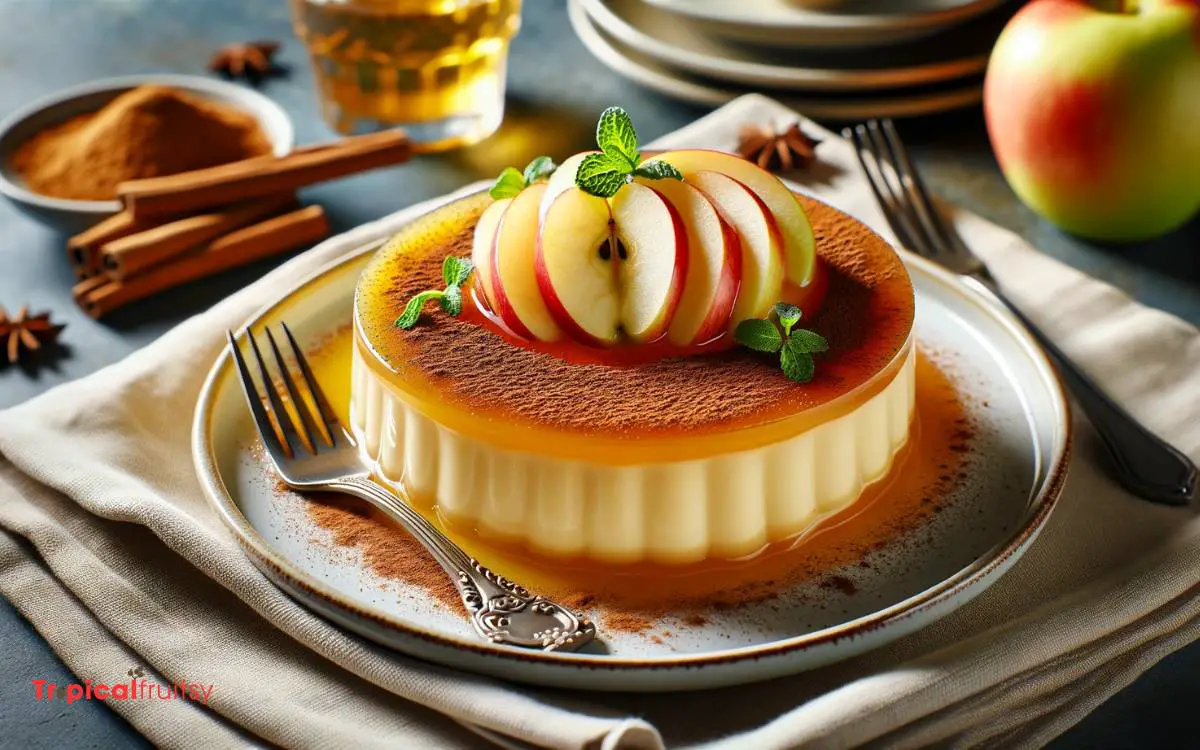
How then shall I crown this masterpiece, when the time comes to garnish my apple custard? The final flourish must enhance not just the flavor, but also the visual appeal.
Here’s how I’ll make it truly unforgettable:
- A Sprinkle of Cinnamon: A dusting atop the custard adds warmth and a hint of spice that complements the apple’s sweetness.
- Mint Leaves: A few fresh leaves placed delicately can bring a pop of color and a refreshing contrast.
- Toasted Almonds: Scattering slivered almonds lends a delightful crunch and nutty aroma that entices the senses.
- Caramel Drizzle: A zigzag of caramel sauce will create a luxurious finish, marrying the flavors with a glossy sheen.
Each element is chosen to elevate the dish, ensuring every bite is a symphony of taste and texture.
Serving and Storage Tips
After garnishing the apple custard to perfection, I’ll turn my attention to the best ways to serve and store this delightful dessert.
For a sublime experience, serve it chilled. Spooning the custard into delicate glass bowls enhances its visual appeal, and a sprig of mint adds a touch of elegance.
When it comes to storage, the trick is to keep the custard fresh without compromising its texture.
Here’s a handy table for reference:
| Condition | Container | Duration |
|---|---|---|
| Chilled | Airtight | 3-5 days |
| Room temp. | Not advised | Discard after 2 hours |
| Frozen | Freezer-safe | Not recommended |
Always remember to cover the custard with plastic wrap, pressing it directly onto the surface to prevent a skin from forming. Enjoy your creation within a few days for the best flavor and consistency.
Conclusion
In the quiet kitchen, I stand, basking in the juxtaposition of warm, spiced apples against the cool, silken custard.
Each spoonful is a testament to the harmony of textures and flavors—a dance between the comforting embrace of baked fruit and the delicate whisper of vanilla.
This apple custard, a symphony of simplicity and elegance, now awaits its final flourish.
With a sprinkle of cinnamon, it’s not just a dessert; it’s a moment captured, a sweet slice of serenity to savor.


