How to Make Breadfruit Flour? 5 Easy Steps!
Breadfruit flour is emerging as a coveted gluten-free alternative to traditional wheat flours, appreciated for its versatility and nutritional benefits.
The process of making breadfruit flour involves several critical steps to ensure the retention of its inherent qualities.
Initially, selecting a ripe, yet firm breadfruit is crucial, as it affects the flour’s flavor and texture. Preparation entails peeling the fruit, coring, and slicing it into uniform pieces, which aids in consistent drying.
The drying process can be executed through various methods, such as using a dehydrator or an oven, to achieve the desired moisture content.
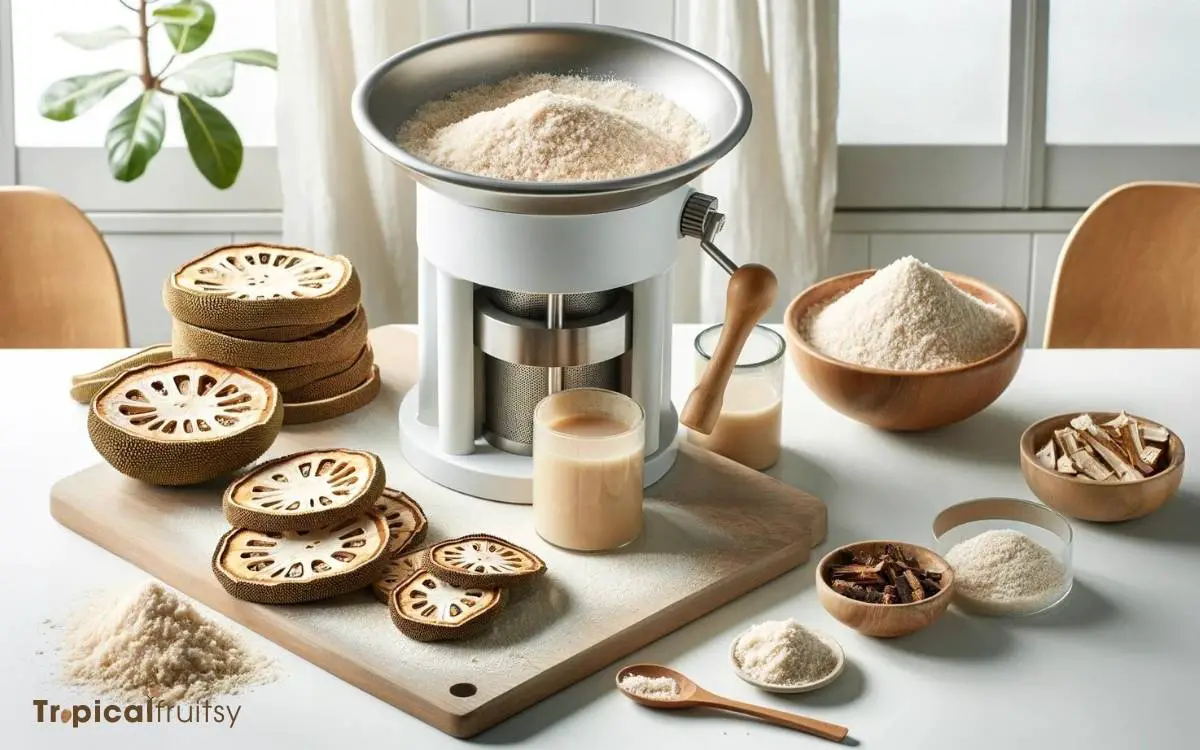
The penultimate step is grinding the dried slices into a fine powder, which then results in breadfruit flour.
Proper storage is the final measure to maintain freshness and extend shelf life. Mastery of these procedures enables one to create a high-quality, nutritious flour suitable for a myriad of culinary applications.

Key Takeaway
Step 1: Selecting the Right Breadfruit

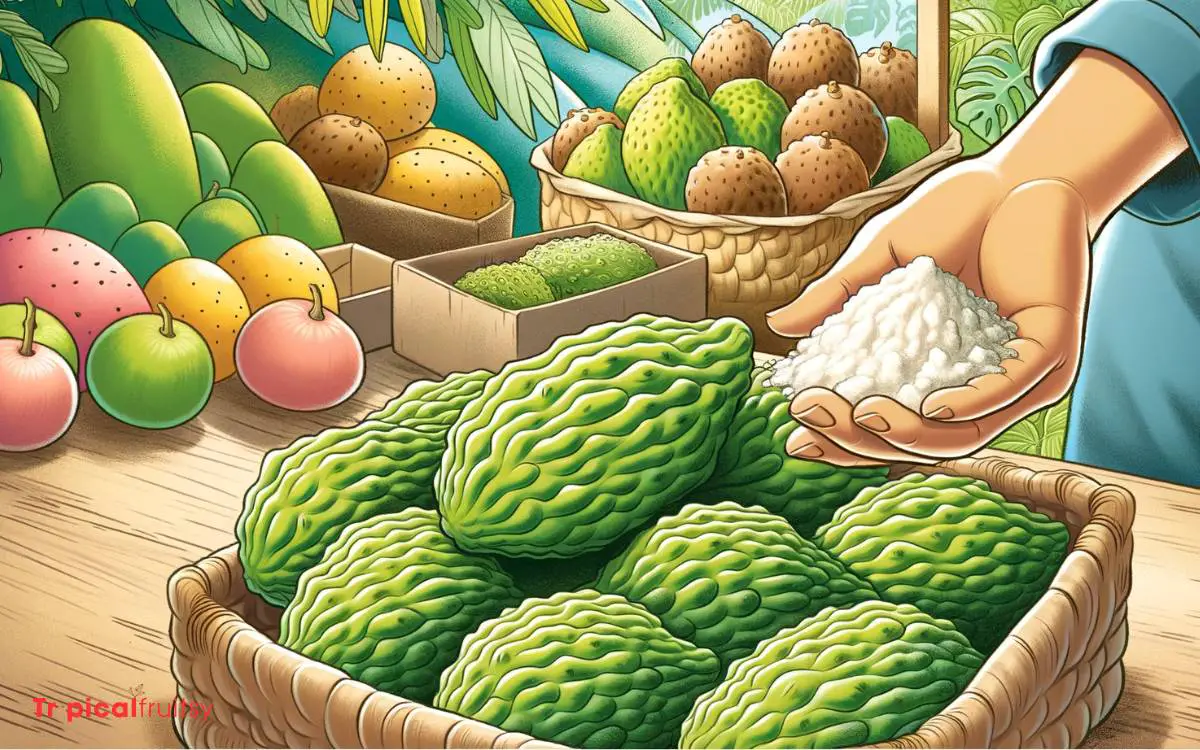
Choosing a mature, firm breadfruit is essential for producing high-quality flour. The selection process is critical, as the maturity of the fruit directly influences the starch content and overall yield.
Ideal candidates for flour production exhibit a uniformly green skin without any signs of softness or decay. These attributes suggest a high concentration of complex carbohydrates, which are pivotal for a fine, gluten-free flour.
To ascertain maturity, conduct a tactile assessment; the skin should yield minimally under pressure, indicating the presence of dense, starchy flesh.
This stage of ripeness is not only optimal for flour conversion but also minimizes post-harvest spoilage, ensuring a stable supply for processing.
Hence, meticulous examination and selection are paramount in the initial phase of breadfruit flour production.
Step 2: Preparing Breadfruit for Drying

Prior to drying, the selection of a ripe breadfruit is critical as it directly impacts the starch content and final texture of the flour.
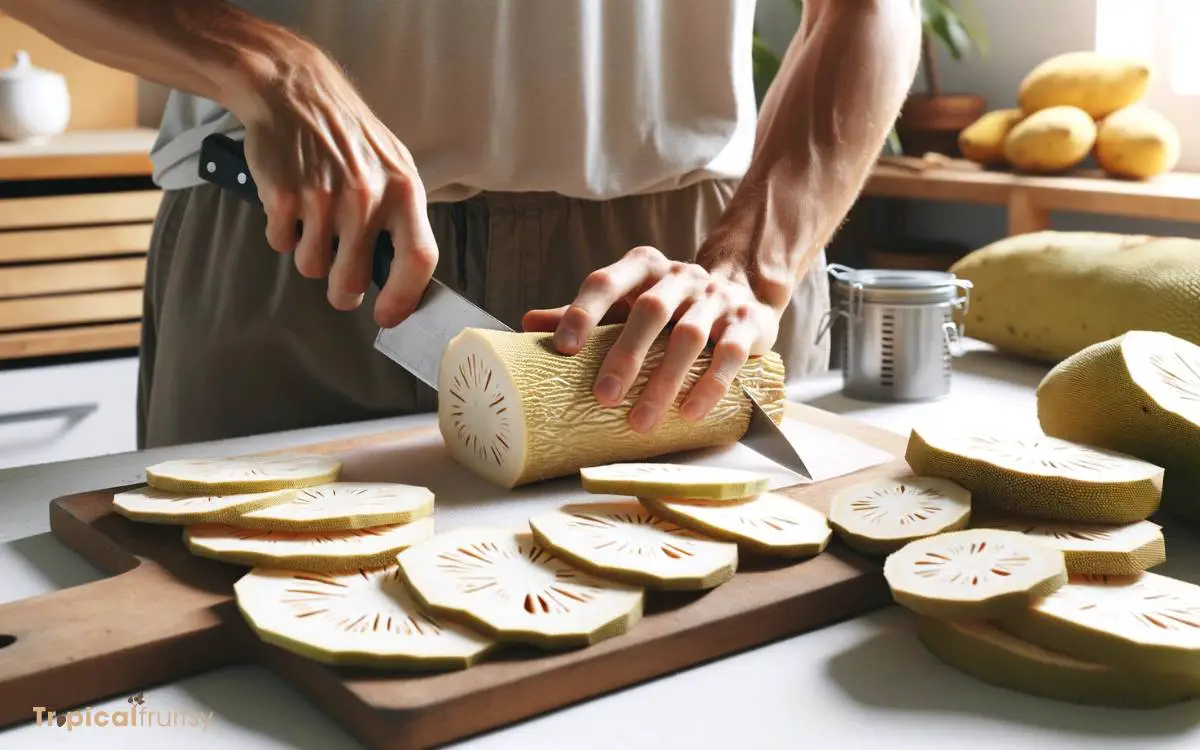
Uniform slicing of the fruit is paramount to ensure consistent dehydration, which is a function of both slice thickness and surface area exposed to the drying medium.
Precise control of the dehydration temperature is essential to optimize drying time and prevent thermal degradation of the fruit’s nutritive properties.
Selecting Ripe Breadfruit
How can one ascertain the ripeness of a breadfruit when preparing it for drying to create flour? The process demands an analytical approach.
Initially, a visual inspection is conducted to assess the skin’s color transition from green to yellowish, which often indicates maturity.
A tactile examination follows, where the breadfruit should yield slightly under gentle pressure, suggesting optimal starch content for drying and milling. An auditory test may be employed, where a dull thud upon tapping implies ripeness.
Moreover, the olfactory sense can be utilized, as ripe breadfruit emits a faintly sweet, musky aroma.
Precision in selecting the ripe fruit is crucial, as it affects the flour’s quality. Overripe or underripe specimens can result in an inferior product, underscoring the need for meticulous selection.
Slicing Techniques
Once the breadfruit is deemed ripe, it must be sliced into uniform pieces to ensure even drying and optimal flour consistency.
Precise slicing is critical as it influences the dehydration rate and the final product’s quality. Implementing a methodical approach to slicing will facilitate uniformity.
The thickness of the slices directly correlates with the drying time; thinner slices will dry more quickly but are prone to over-drying, while thicker slices may retain moisture leading to an inconsistent texture in the flour.
| Thickness | Drying Time | Notes |
|---|---|---|
| 1/4 inch | Short | Prone to over-drying; requires vigilant monitoring |
| 1/2 inch | Moderate | Ideal balance between drying time and texture |
| 3/4 inch | Long | Increased risk of uneven drying; not recommended |
| 1 inch | Not Advised | Likely to retain moisture; unsuitable for flour |
Dehydration Temperature Control
Temperature regulation is paramount during the dehydration stage to ensure the breadfruit slices dry uniformly and maintain their nutritional integrity.
An optimal temperature range must be established to facilitate the removal of moisture while preserving essential nutrients and enzymes.
This precise thermal control is achieved through the utilization of a programmable dehydrator or an oven with a reliable thermostat.
The temperature should typically be set between 50°C to 60°C, a range that efficiently evaporates water content without causing detrimental heat degradation to the starchy constituents and vitamin content.
Monitoring and adjustments may be necessary to ensure consistent drying throughout the process.
As the breadfruit slices undergo dehydration, the next critical phase involves the actual drying process, which requires meticulous attention to detail.
Step 3: Drying the Breadfruit Slices

Proper drying of the breadfruit slices is essential for achieving high-quality flour. This phase necessitates a systematic approach to ensure that the moisture content is uniformly reduced, which is critical for the milling process that follows.
The drying should commence at a temperature that effectively evaporates moisture without causing thermal degradation to the starches within the breadfruit.
It is imperative to maintain a consistent airflow around the slices to facilitate even drying and to prevent the formation of mold.
The slices are deemed adequately dry when they exhibit a brittle texture, indicating a low moisture content suitable for grinding.
Precise moisture measurement tools can be employed to ascertain the optimal dryness before proceeding to the milling stage.
Step 4: Grinding Into Flour

After ensuring the breadfruit slices are thoroughly dried, they are ready for the next critical step: grinding them into a fine flour.
This phase involves pulverizing the desiccated slices to achieve a powdery consistency optimal for baking applications.
The precision of grinding is pivotal; it influences the flour’s texture and, consequently, the quality of the end product.
| Stage | Description |
|---|---|
| 1. Preparation | Dried slices are homogeneously distributed for uniform grinding. |
| 2. Grinding | A high-speed grinder processes the slices into fine particles. |
| 3. Sieving | The ground material is sifted to ensure a consistent flour fineness. |
| 4. Collection | Flour is gathered post-sieving, taking care to minimize waste. |
| 5. Storage | The flour is stored in airtight containers to preserve freshness. |
The meticulous approach to grinding ensures that the breadfruit flour maintains its nutritional integrity and offers a satisfactory culinary experience.
Step 5: Storing Your Breadfruit Flour

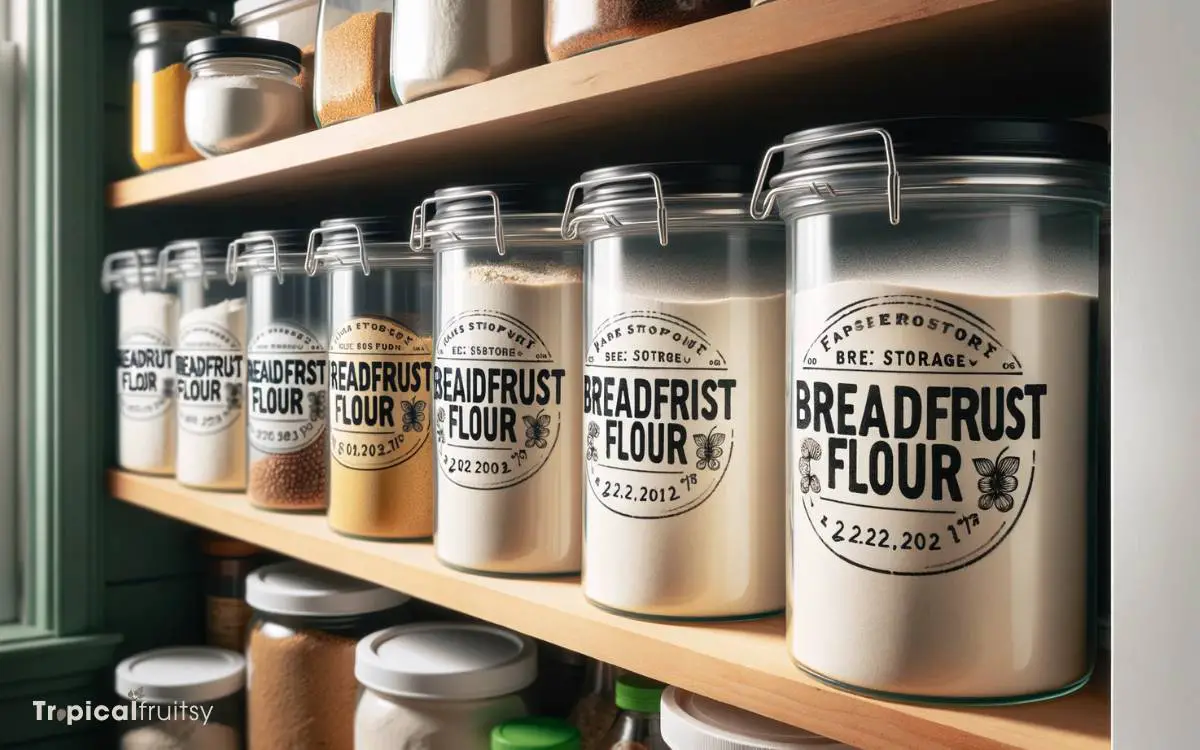
To maximize shelf life and preserve quality, all breadfruit flour should be stored in airtight containers in a cool, dry location.
The enzymatic activity and microbial growth that can spoil flour are significantly reduced under these conditions.
An analytical approach to storage also considers factors that might affect the flour’s functional properties, such as its water absorption and binding capacity, which are crucial for baking applications.
By adhering to optimal storage practices, the flour’s consistency and performance in recipes can be maintained.
- Store in airtight containers to prevent moisture and pest intrusion.
- Keep in a cool place, ideally below room temperature.
- Avoid exposure to direct sunlight which can degrade quality.
- Consider using oxygen absorbers to prolong shelf life.
- Label containers with the date of storage for better inventory management.
Tips for Using Breadfruit Flour
Optimal utilization of breadfruit flour in culinary applications necessitates an understanding of its substitution ratio relative to traditional wheat flour.
Analyzing the flavor profile of breadfruit flour can provide a foundation for strategic pairing with complementary ingredients, enhancing the overall taste experience.
Experimental approaches to its use in various recipes will contribute to establishing a framework for its versatility and functionality as an alternative flour source.
Substitute Ratio Guidance
How can one effectively substitute wheat flour with breadfruit flour in various recipes? This inquiry necessitates a methodical approach to understand how breadfruit flour interacts with other ingredients.
It’s critical to recognize that breadfruit flour has a unique composition, which influences gluten formation, moisture absorption, and flavor profile.
Here are some guidelines for substituting breadfruit flour:
- Start with a 50:50 ratio of breadfruit flour to wheat flour and adjust based on the recipe’s textural requirements.
- Consider the addition of xanthan gum or guar gum to improve the binding properties in gluten-free baking.
- Increase liquid ingredients slightly, as breadfruit flour tends to absorb more moisture.
- For yeast-leavened bread, a trial-and-error approach is essential to perfect the rise.
- When baking cakes or cookies, closely monitor the baking time as breadfruit flour can alter the standard durations.
These tips are foundational stepping stones in the experimental journey of using breadfruit flour as a wheat alternative.
Flavor Pairing Suggestions
The unique taste profile of breadfruit flour complements both sweet and savory ingredients, making it a versatile addition to a variety of recipes.
Its subtle nuttiness and inherent sweetness engage well with spices such as cinnamon, nutmeg, and vanilla in baked goods.
Experimentally, chefs may incorporate it into gluten-free pastry recipes for a distinctive flavor twist.
In savory applications, breadfruit flour can be adeptly paired with herbs like rosemary or thyme, enhancing the taste of vegetable-based dishes and gluten-free breads.
The flour’s absorbent nature suggests a cautious approach to liquid ratios in recipe formulation.
For culinary innovators, the flour’s adaptability invites a methodical experimentation, potentially leading to novel gastronomic creations that cater to both traditional palates and modern dietary preferences.
Can I Use Breadfruit Flour in Baking as a Substitute for Regular Flour?
Yes, you can certainly use breadfruit flour in baking as a substitute for regular flour. The process of using breadfruit flour steps is quite simple. Just replace the regular flour with breadfruit flour in a 1:1 ratio and follow the rest of the recipe as directed. Enjoy your delicious, gluten-free baked goods!
How to Make Breadfruit Flour at Home

Making breadfruit flour at home involves a process of drying and grinding breadfruit into a fine powder. Breadfruit flour can be used as a gluten-free alternative to wheat flour in various recipes.
Here’s how you can make breadfruit flour at home:
Ingredients and Equipment:
- Ripe breadfruit
- Knife
- Cutting board
- Baking sheets or trays
- Oven or food dehydrator
- Blender or food processor
- Sieve or fine mesh strainer
- Airtight container for storage
Instructions:
Select Ripe Breadfruit:
- Choose ripe breadfruit for this process. Ripe breadfruit will have a sweet fragrance and yield slightly when pressed.
Prepare the Breadfruit:
- Wash the breadfruit thoroughly.
- Cut off the stem and slice the breadfruit into smaller pieces to make it easier to handle.
Remove Seeds:
- If your breadfruit has large seeds, remove them as they are not suitable for making flour.
Preheat the Oven or Food Dehydrator:
- If you’re using an oven, preheat it to a low temperature (around 120-150°F or 50-65°C). If you have a food dehydrator, follow the manufacturer’s instructions for temperature settings.
Arrange Breadfruit Slices:
- Place the breadfruit slices on baking sheets or trays in a single layer. Leave some space between the slices to allow for even drying.
Dehydrate the Breadfruit:
- Place the trays in the preheated oven or food dehydrator.
- Allow the breadfruit slices to dry for several hours. The exact drying time will depend on your equipment and the thickness of the slices. It can take anywhere from 8 to 24 hours or more.
- Check the slices periodically. They should become completely dry, brittle, and easily break when bent.
Grind into Flour:
- Once the breadfruit slices are completely dried, remove them from the oven or food dehydrator.
- Break the dried slices into smaller pieces.
- Grind the dried breadfruit pieces into a fine powder using a blender or food processor. You may need to do this in batches.
Sift the Flour:
- To ensure a finer texture, sift the ground breadfruit flour through a sieve or fine mesh strainer.
- Discard any larger particles that don’t pass through the sieve.
Store Breadfruit Flour:
- Transfer the breadfruit flour to an airtight container.
- Store it in a cool, dry place away from direct sunlight.
Now you have homemade breadfruit flour that can be used in various recipes, such as bread, pancakes, muffins, and other baked goods.
When substituting breadfruit flour for wheat flour in recipes, keep in mind that breadfruit flour doesn’t have gluten, so it may require additional binders or adjustments to achieve the desired texture in your final product.
Conclusion
The transformation of breadfruit into flour is a meticulous process that bears the fruits of labor in the form of a versatile ingredient.
The adage ‘good things come to those who wait’ rings true as the careful selection, preparation, drying, grinding, and storage culminate in a high-quality product.
This flour not only provides a gluten-free alternative but also stands as a testament to the innovative utilization of traditional food resources.


