How to Make Feijoa Jam? 6 Easy Steps!
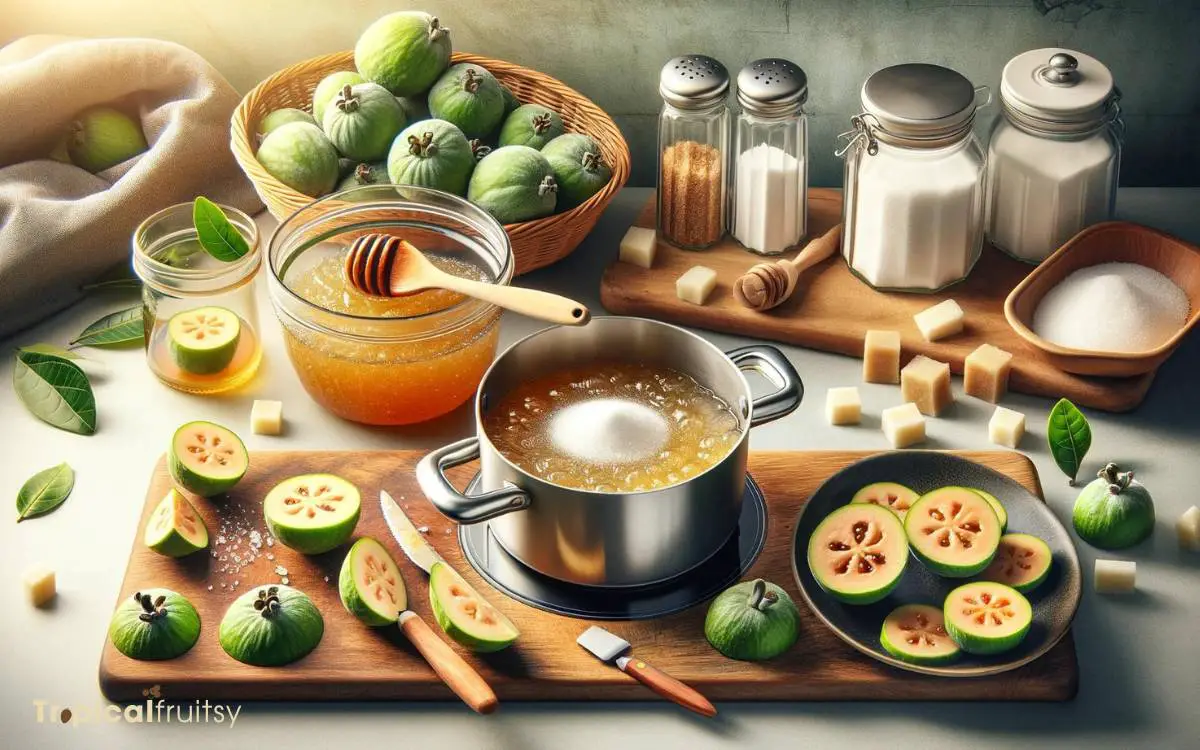
Feijoa jam is a delightful preserve made from the unique-tasting feijoa fruit, also known as pineapple guava. To make feijoa jam, you will need ripe feijoas, sugar, water, and lemon juice.
The basic process involves peeling and chopping the fruit, combining it with sugar and lemon juice, and then cooking this mixture until it reaches a jam-like consistency.
Feijoa jam is relatively simple to prepare and involves a few key steps:
For example, if you have 4 cups of prepared feijoas, you would typically add about 2-3 cups of sugar and the juice of one lemon. The mixture is then cooked for approximately 30-40 minutes before it’s ready to be jarred.
Feijoa jam captures the aromatic flavor of the fruit, creating a spread that’s perfect for toast or as a sweet addition to desserts.
Key Takeaway
Gathering Your Ingredients
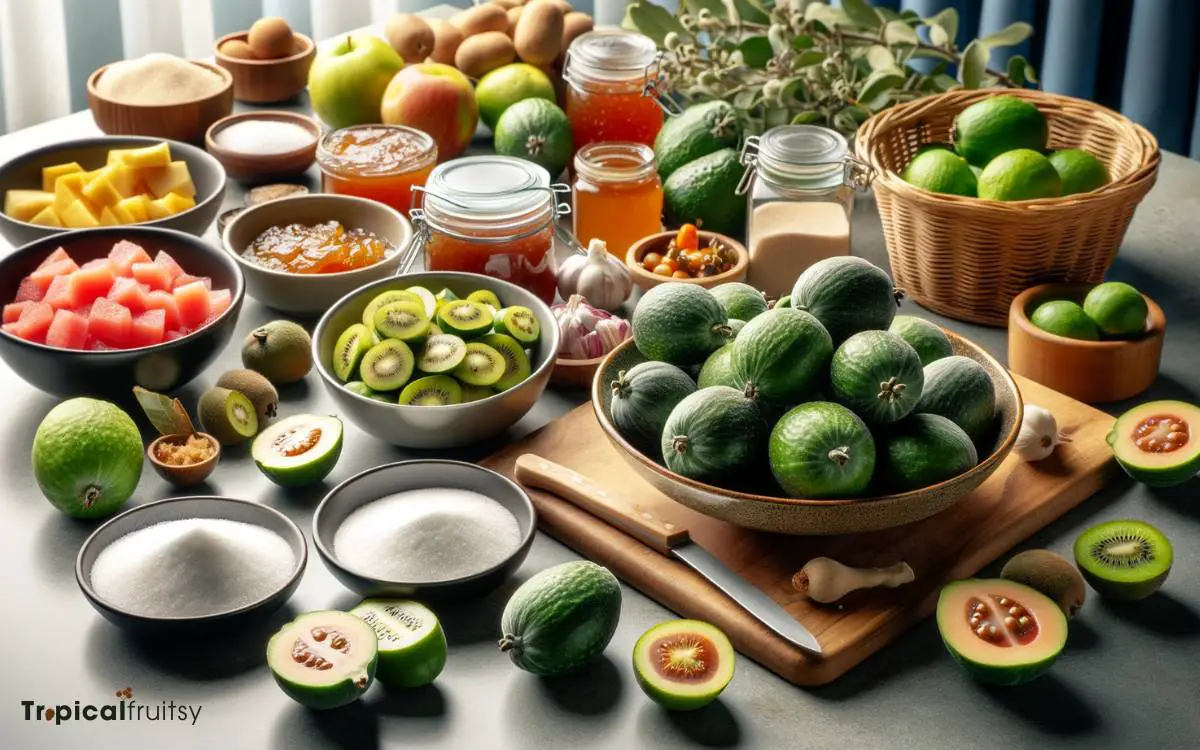
To begin making feijoa jam, you’ll need to collect the ripe feijoas, sugar, lemon juice, and pectin.
Selecting fully matured feijoas is crucial; they should exhibit a rich, aromatic scent and slightly soft touch. This ensures a natural sweetness and robust flavor.
For the sugar component, granulated white sugar works best to enhance the feijoa’s unique, pineapple-like taste without overshadowing it.
Freshly squeezed lemon juice not only adds a bright note but also aids the gelling process with its natural acidity.
Pectin, a gelling agent, is essential for achieving the desired consistency. It’s important to use the correct ratio to prevent the jam from being too runny or overly stiff.
Having gathered these components, the next step involves preparing the feijoas to ensure a smooth jam-making process.
Step 1: Preparing the Feijoas
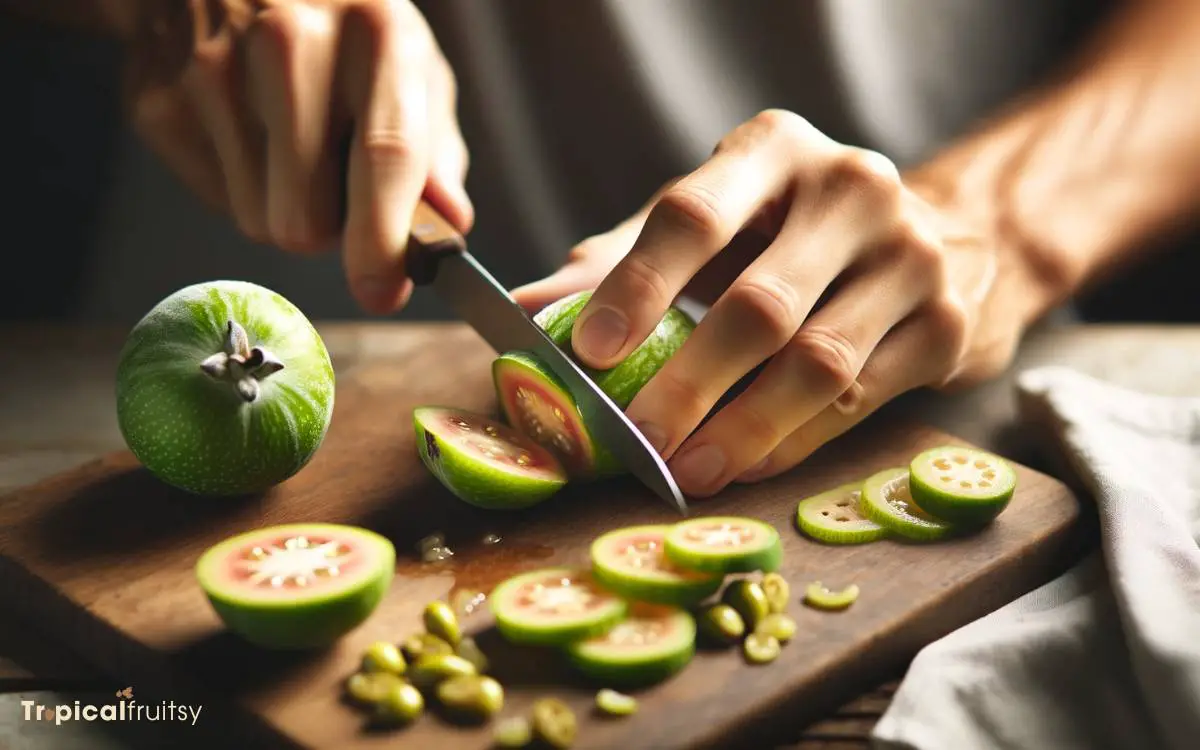
To ensure the highest quality of feijoa jam, one must start by selecting feijoas at peak ripeness. The fruit’s aromatic sweetness and slight tartness should be pronounced.
They then meticulously clean and gently peel the fruit, preserving its delicate flesh.
The feijoas are chopped evenly to guarantee uniform cooking and flavor distribution throughout the jam.
Selecting Ripe Feijoas
Selecting a ripe feijoa is crucial for achieving the perfect balance of flavor and texture in your jam. The ideal feijoa boasts a slight give upon gentle pressure, indicating a soft, jelly-like interior teeming with complex, aromatic flavors.
A ripe feijoa’s skin transitions from vibrant green to a duller hue, a telltale sign of maturity. Its fragrance intensifies, releasing a sweet, tropical scent with notes of pineapple and guava.
Avoid fruit with blemishes or signs of overripeness, as they can impart an undesirable fermented taste.
The chosen feijoas should be uniform in ripeness to ensure a consistent cooking process and optimal pectin levels for jam setting.
With your ripe feijoas at hand, you’re ready to move on to cleaning and peeling, the next steps in crafting your homemade feijoa jam.
Cleaning and Peeling
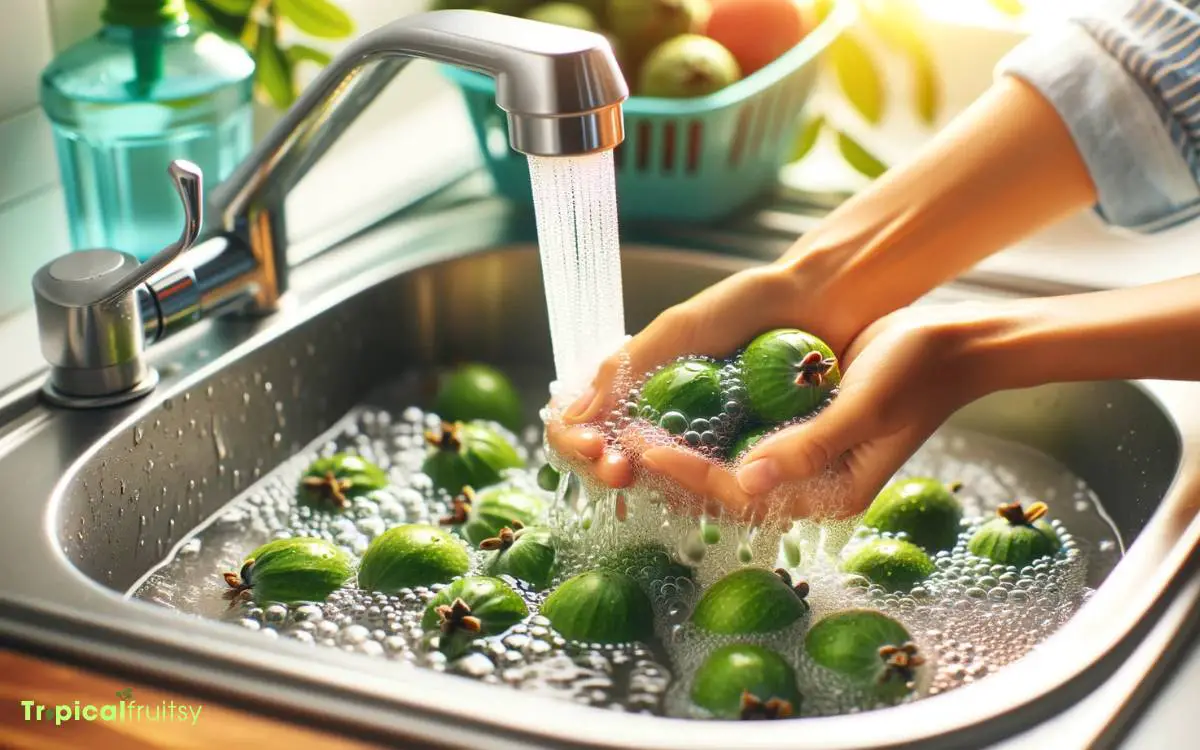
Once you’ve selected your ripe feijoas, it’s time to wash and peel them thoroughly before cooking.
Begin by rinsing the fruit under cold, running water to remove any surface dirt or residues. It’s crucial to cleanse them meticulously, as contaminants can affect the jam’s flavor and safety.
Next, focus on peeling the feijoas with care to preserve their delicate flesh. Using a sharp paring knife, gently slice off the ends and peel away the skin, which can impart a bitter taste if left intact.
Ensure you’re removing only the outer layer; excess peeling can lead to a loss of the fruit’s vibrant essence.
Properly prepared feijoas will enhance the jam’s final texture and highlight the unique, aromatic flavors inherent to the fruit.
Chopping Fruit Evenly
After peeling, carefully chop the feijoas into uniform pieces to ensure even cooking and a consistent jam texture. Uniformity is crucial because it allows the feijoa’s tart-sweet flavor to permeate the jam evenly.
Each piece should be similar in size to promote a consistent reduction rate and prevent some pieces from disintegrating while others remain too chunky.
| Chopping Technique | Benefit |
|---|---|
| Uniform Dicing | Ensures each feijoa piece will cook at the same rate. |
| Consistent Size | Achieves a smoother texture and better spreadability. |
| Even Distribution | Guarantees flavor consistency throughout the jam. |
With your feijoas chopped uniformly, the foundation is set for a delightfully balanced feijoa jam.
Next, it’s time to turn your attention to sterilizing your jars, a critical step for preserving the jam’s freshness and extending its shelf life.
Step 2: Sterilizing Your Jars
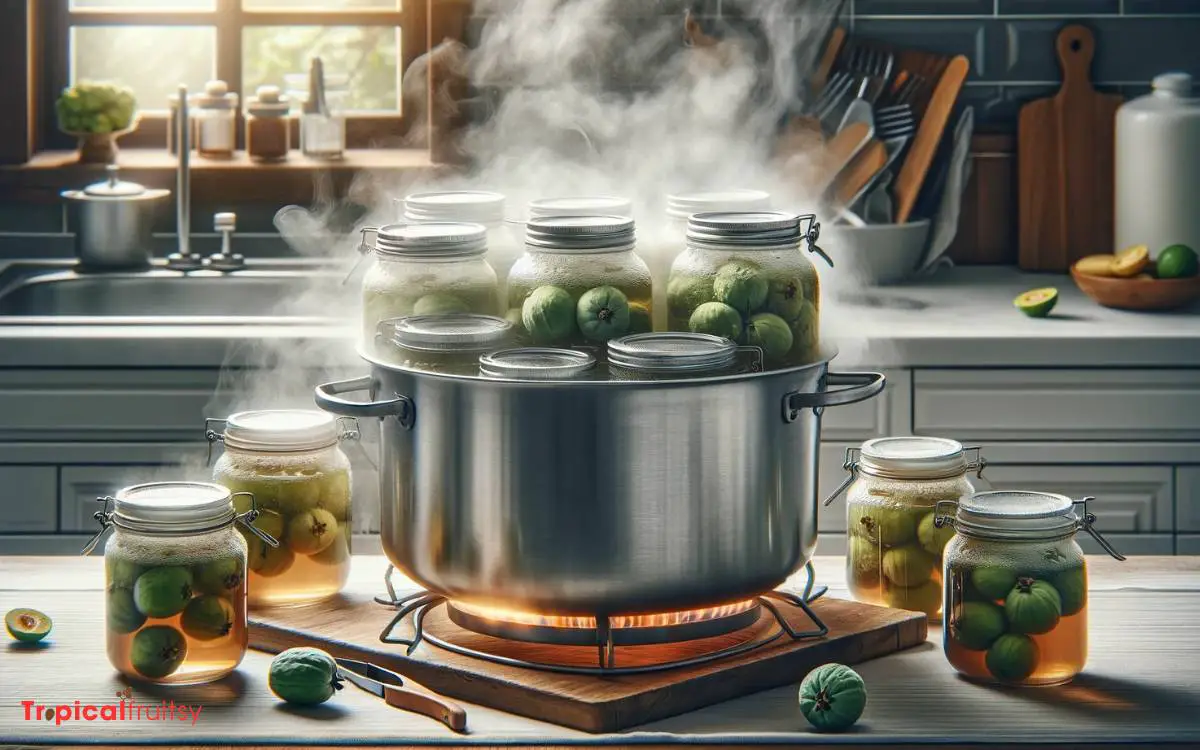
Ensure your jam has a long shelf life by sterilizing the jars before filling them with feijoa jam. This vital step prevents the growth of bacteria and mold, preserving the jam’s vibrant flavors and extending its usability.
The process involves:
- Washing: Thoroughly clean jars and lids with hot, soapy water. Rinse well to remove all soap residues that could taint your jam’s subtle floral notes.
- Heating: Place the jars in a large pot filled with water. Bring to a boil and simmer for at least 10 minutes to kill any lingering microorganisms.
- Drying: Carefully remove the jars using tongs and dry them completely to prevent water from diluting the jam’s robust feijoa essence.
Properly sterilized, your jars are now ready to be packed with the freshly prepared feijoa jam.
Step 3: Cooking the Jam Mixture
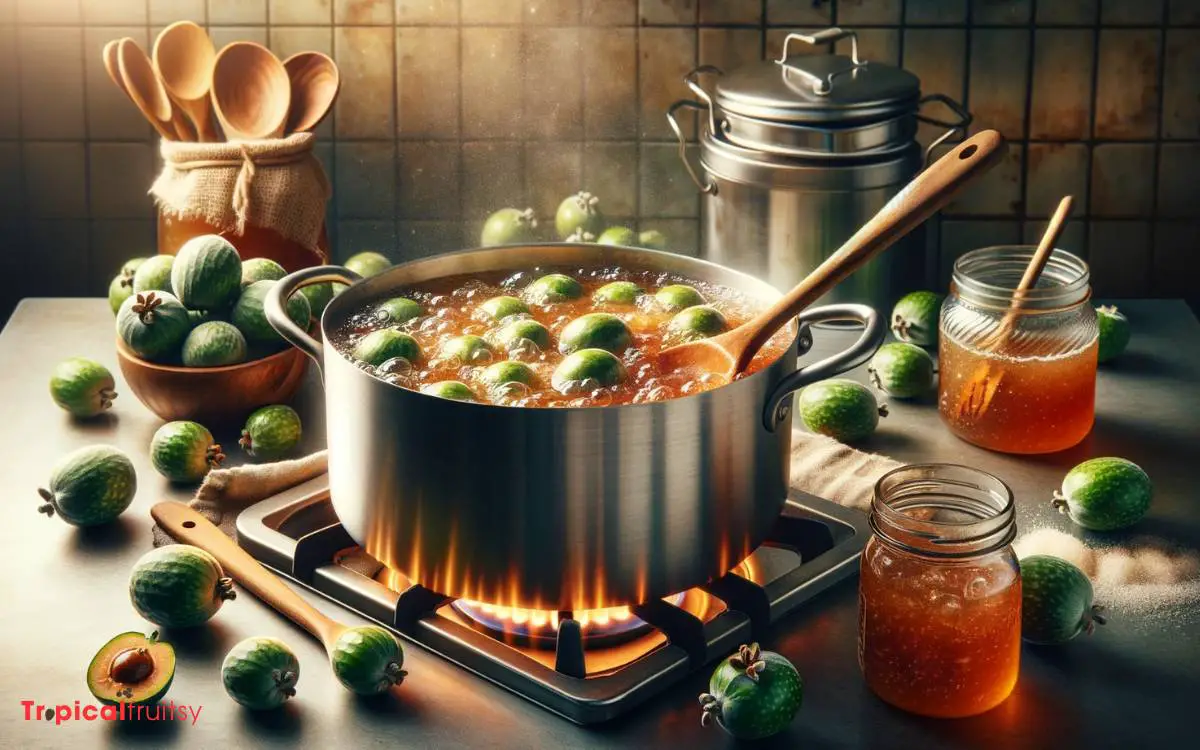
Once the feijoa pulp merges with sugar, the cook brings the mixture to a gentle boil to coax out the natural pectins.
They’ll monitor the simmer closely, ensuring that the jam thickens to the precise consistency while preserving the feijoa’s vibrant, tangy flavor.
Mastery in pectin incorporation is crucial, as it stabilizes the jam without compromising its spreadable texture.
Optimal Simmering Time
Simmering the feijoa jam mixture typically takes about 30 to 40 minutes, allowing the fruit to break down and the flavors to meld.
During this crucial phase, precise timing and attention ensure that the feijoas transform into a rich, aromatic spread.
Here’s a concise guide for the simmering process:
- Maintain a consistent low heat to prevent burning and encourage even flavor development.
- Stir the mixture occasionally, ensuring the sugar dissolves completely and the fruit softens uniformly.
- Monitor the jam’s consistency; it should thicken slightly and coat the back of a spoon when it’s nearing completion.
Achieving the perfect texture and taste balance is essential before moving on to the next step, which involves the pectin incorporation technique.
Pectin Incorporation Technique
Incorporating pectin into the feijoa jam is a crucial step in achieving the desired gel consistency. Pectin, a natural gelling agent, transforms the tender feijoa flesh and sugar combination into a spreadable preserve with a perfect set.
To ensure a homogeneous distribution of pectin, it is important to carefully blend it into the simmering fruit mixture.
This is done by uniformly sprinkling the pectin powder over the fruit and stirring constantly to prevent any lumps from forming. By doing this, the pectin integrates seamlessly into the jam, enhancing its thickening process.
The amount of pectin used is pivotal to the final result of the jam. Using too little pectin will result in a runny jam, while using too much will make it overly stiff. It is important to find the right balance to achieve the desired consistency.
In addition to its role in thickening the jam, pectin also enhances the flavor of the feijoa. Its presence allows for a shorter cooking time, preserving the delicate and aromatic notes of the fruit.
Step 4: Testing Jam Consistency
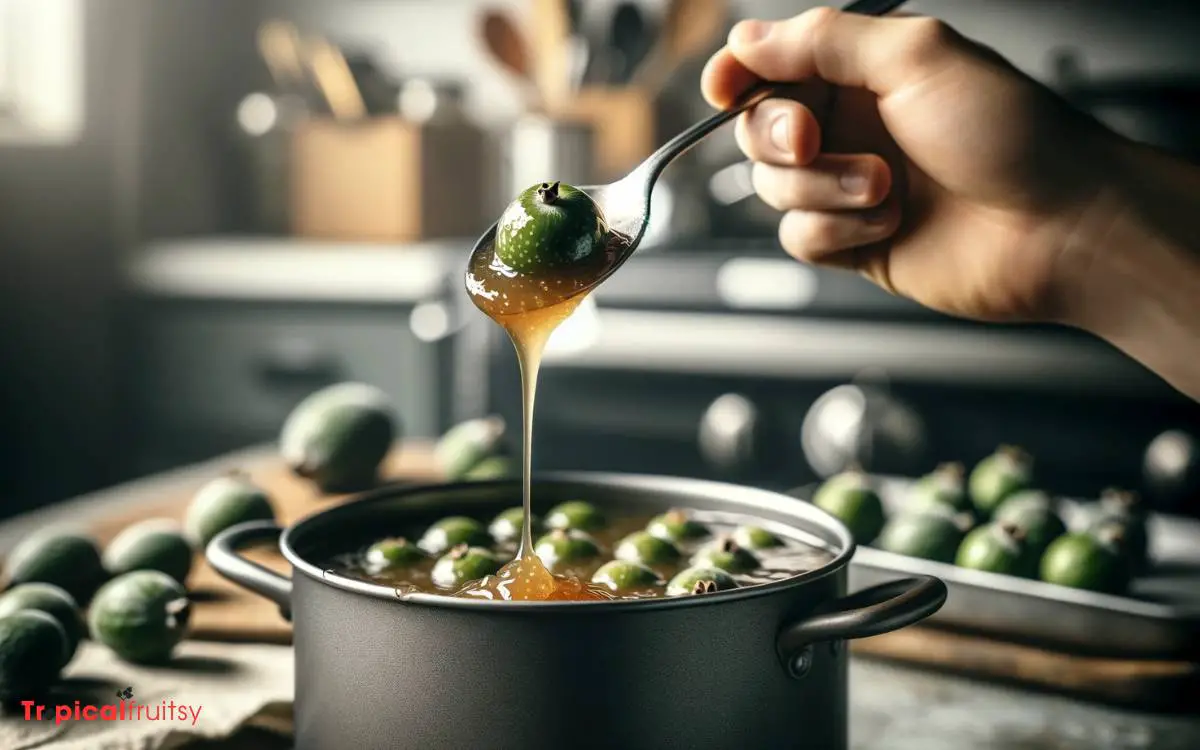
To ensure your feijoa jam has reached the perfect thickness, it’s essential to test its consistency before canning. Achieving that ideal gel point is crucial for both texture and flavor preservation.
Here are three technical methods to ascertain the jam’s readiness:
- Spoon or Sheet Test: Dip a cool metal spoon into the boiling jam, lift it, and watch how the jam falls off. It should sheet off rather than drip when it’s ready.
- Temperature Test: Use a candy thermometer to check if the jam has reached 220°F (104°C)—the setting point for jams.
- Wrinkle Test: Drop a small amount of jam onto a chilled plate. After a minute, push it with your finger; if it wrinkles, it’s set.
Utilizing these measures guarantees a jam with the optimal balance of feijoa’s unique tang and sweet consistency.
Step 5: Filling and Sealing Jars
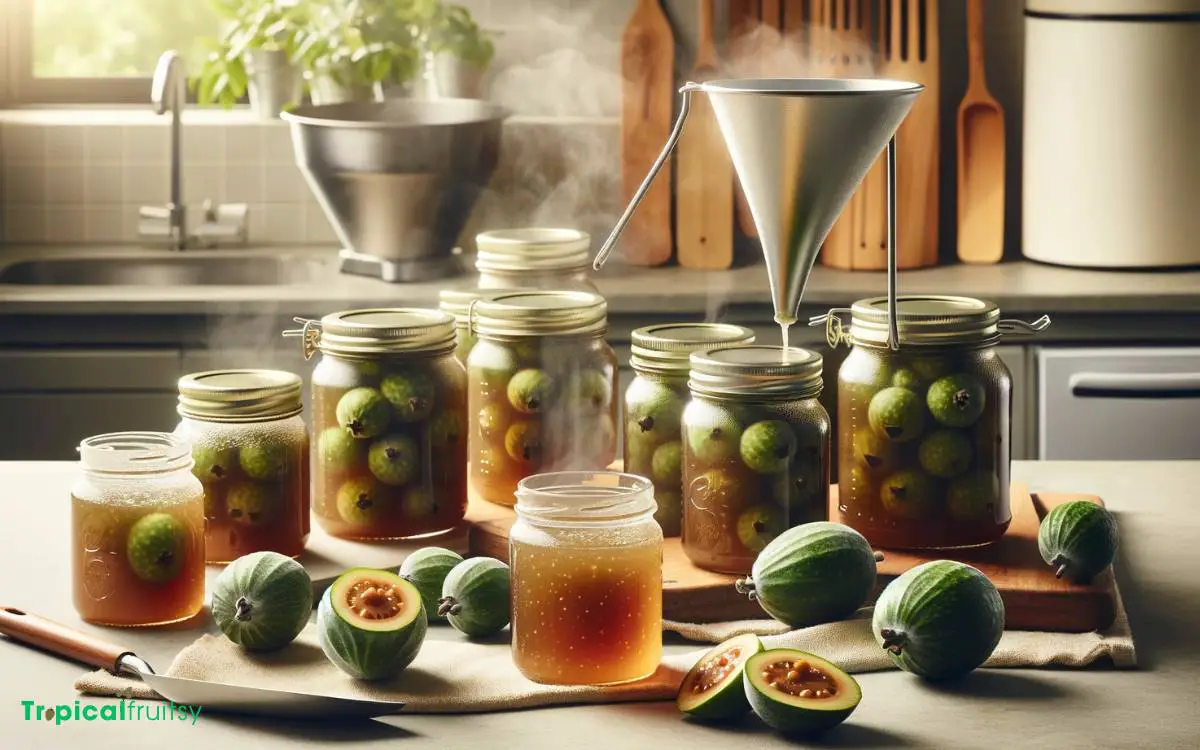
Once you’ve confirmed the jam’s consistency, it’s time to move on to jar-filling, ensuring a tight seal for long-term preservation.
Begin by sterilizing jars and lids in boiling water to prevent contamination. Carefully ladle the hot feijoa jam into jars, leaving about a quarter-inch of headspace to allow for expansion.
Wipe the rims with a clean, damp cloth to remove any residue, which could compromise the seal.
Next, place the lids on the jars, screwing the bands on firmly to secure them. Don’t overtighten, as the air must escape during the sealing process.
Process the jars in a boiling water canner for the time specified by your recipe or canning guidelines to ensure a proper seal.
When done, cool the jars undisturbed, checking for a slight indentation in the lid that indicates a vacuum seal.
Step 6: Storing and Enjoying Jam
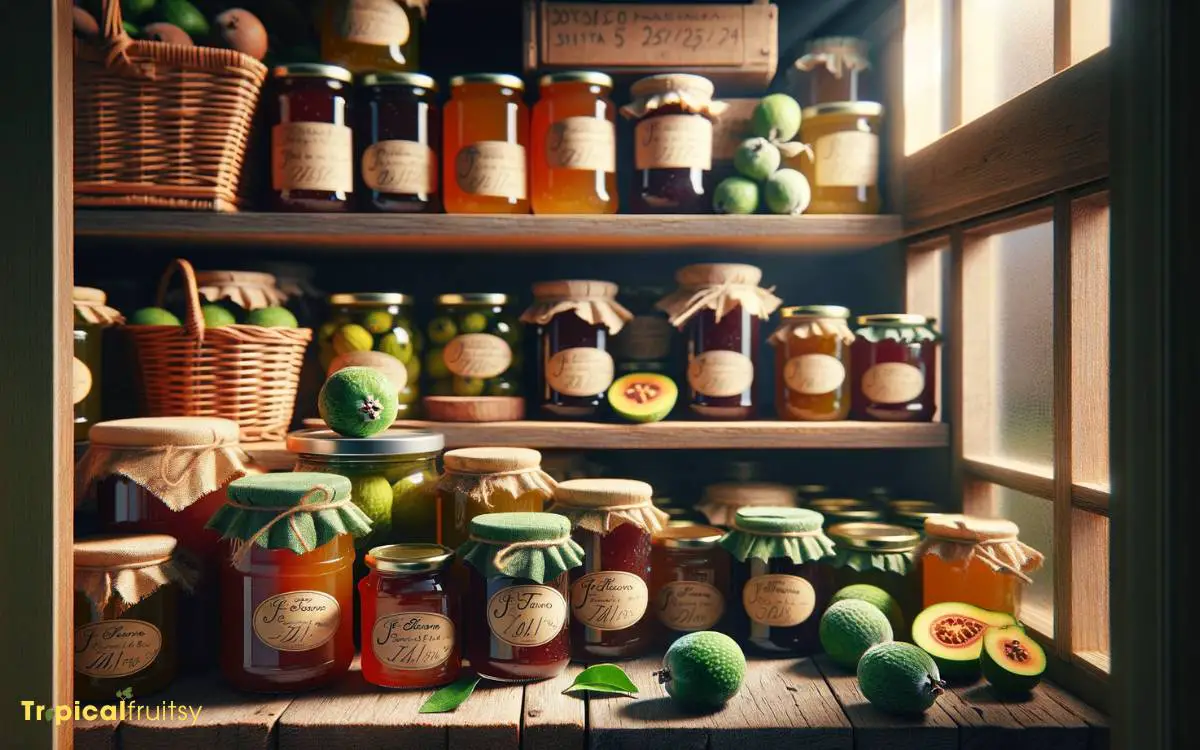
Properly stored, your feijoa jam often retains its flavor and quality for up to a year.
To ensure optimal preservation, follow these precise guidelines:
- Cool & Dark Storage: Keep your jam in a cool, dark place, ideally at a stable temperature of about 50-70°F (10-21°C). Light and heat can degrade the jam’s vibrant flavors.
- Airtight Seals: Confirm that your jars are sealed with airtight lids to prevent moisture loss and microbial ingress, which can spoil the jam’s fresh, tangy essence.
- Refrigeration After Opening: Once opened, refrigerate the feijoa jam promptly. The cold environment slows down spoilage and maintains the jam’s delicate balance of sweetness and acidity.
Enjoy your homemade jam on toast, swirled into yogurt, or as a glaze for meats, savoring the intricate flavors of feijoa with each use.
Conclusion
In sum, crafting feijoa jam marries simplicity with culinary alchemy. One meticulously sterilizes jars, ensuring each spoonful remains pure and unspoiled.
The feijoas, once prepped, transform under heat into a luscious, fragrant preserve. As the saying goes, ‘the proof of the pudding is in the eating,’ and with this jam, the proof is in the perfect gel set.
Sealed and stored, the jam awaits, promising bursts of tangy sweetness for future indulgence.


